First stratocaster, part 2: cutting the body - sawdust, noise, and a few lessons
Started: November 1, 2025 • Ended: not finished yet
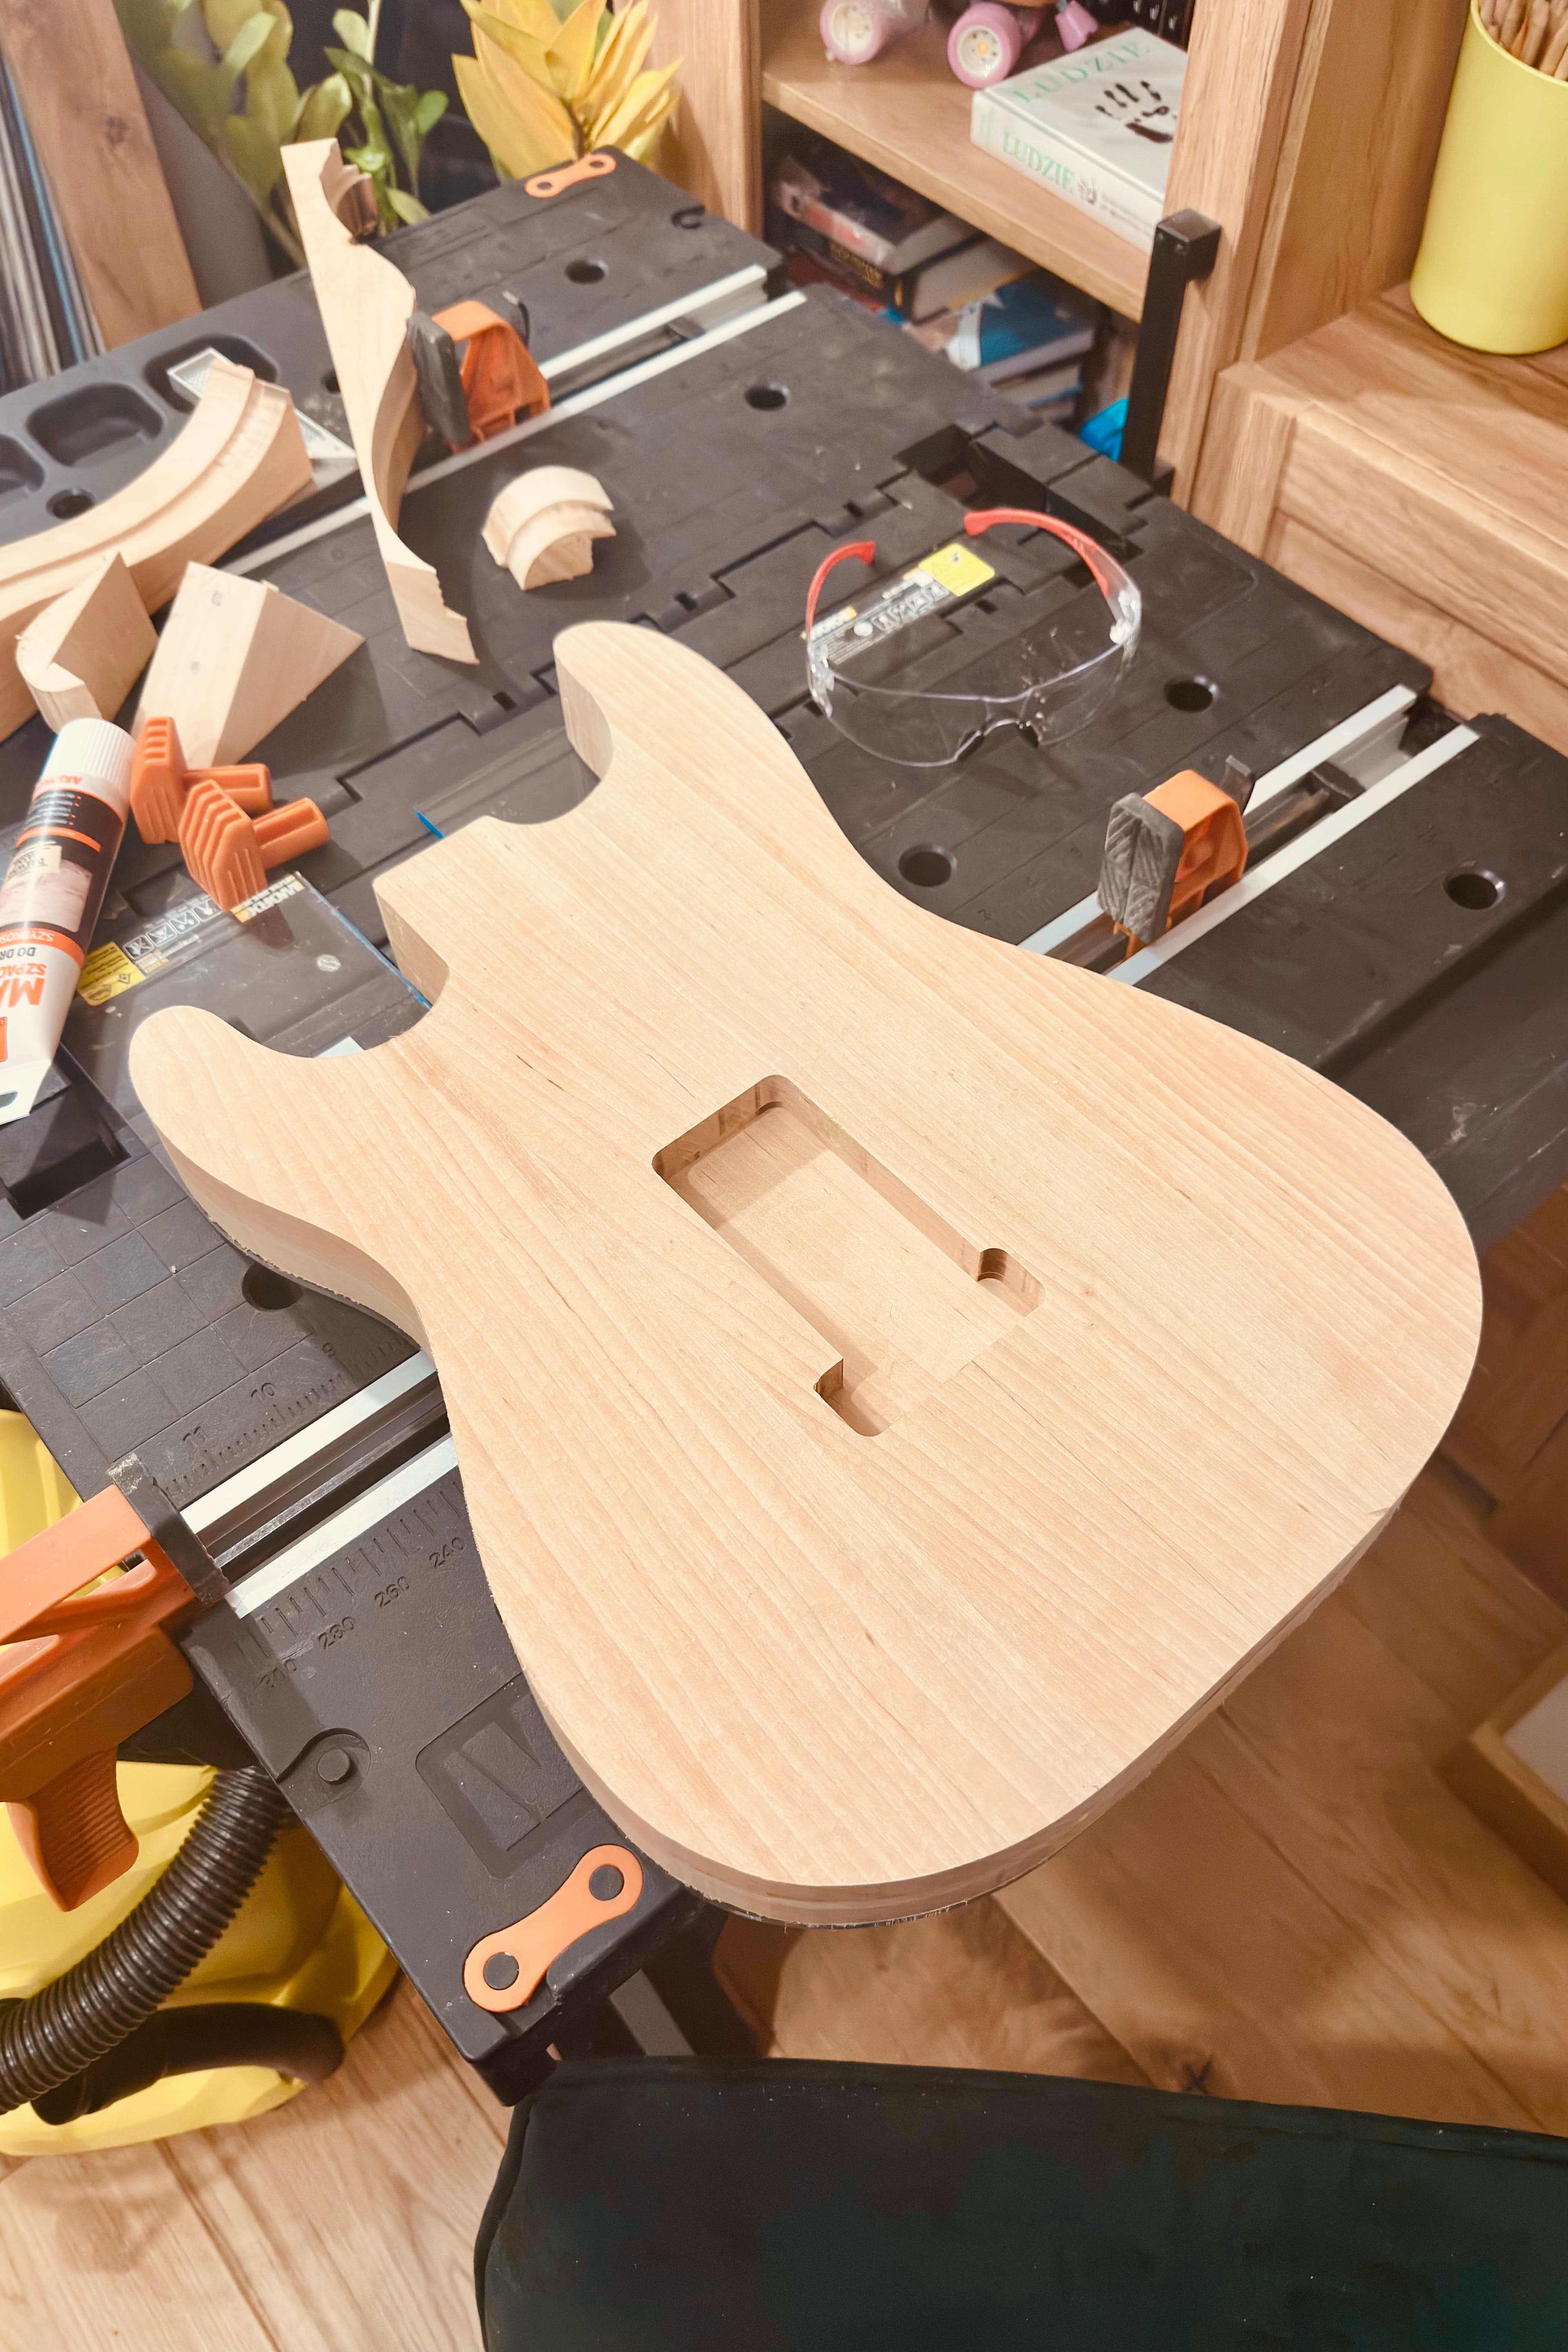
After all the preparation, it was finally time to turn words into action. The first real step was, of course, cutting the body - once again from alder.
I started by removing as much excess wood as possible using a Japanese saw, hoping to make the router’s job easier later on. The idea was simple: less material for the router to remove, less risk, cleaner cuts. In reality... it worked only moderately well. I still left more material than I probably should have. At that moment I decided that for the next build, I might just buy a jigsaw and save myself some effort.
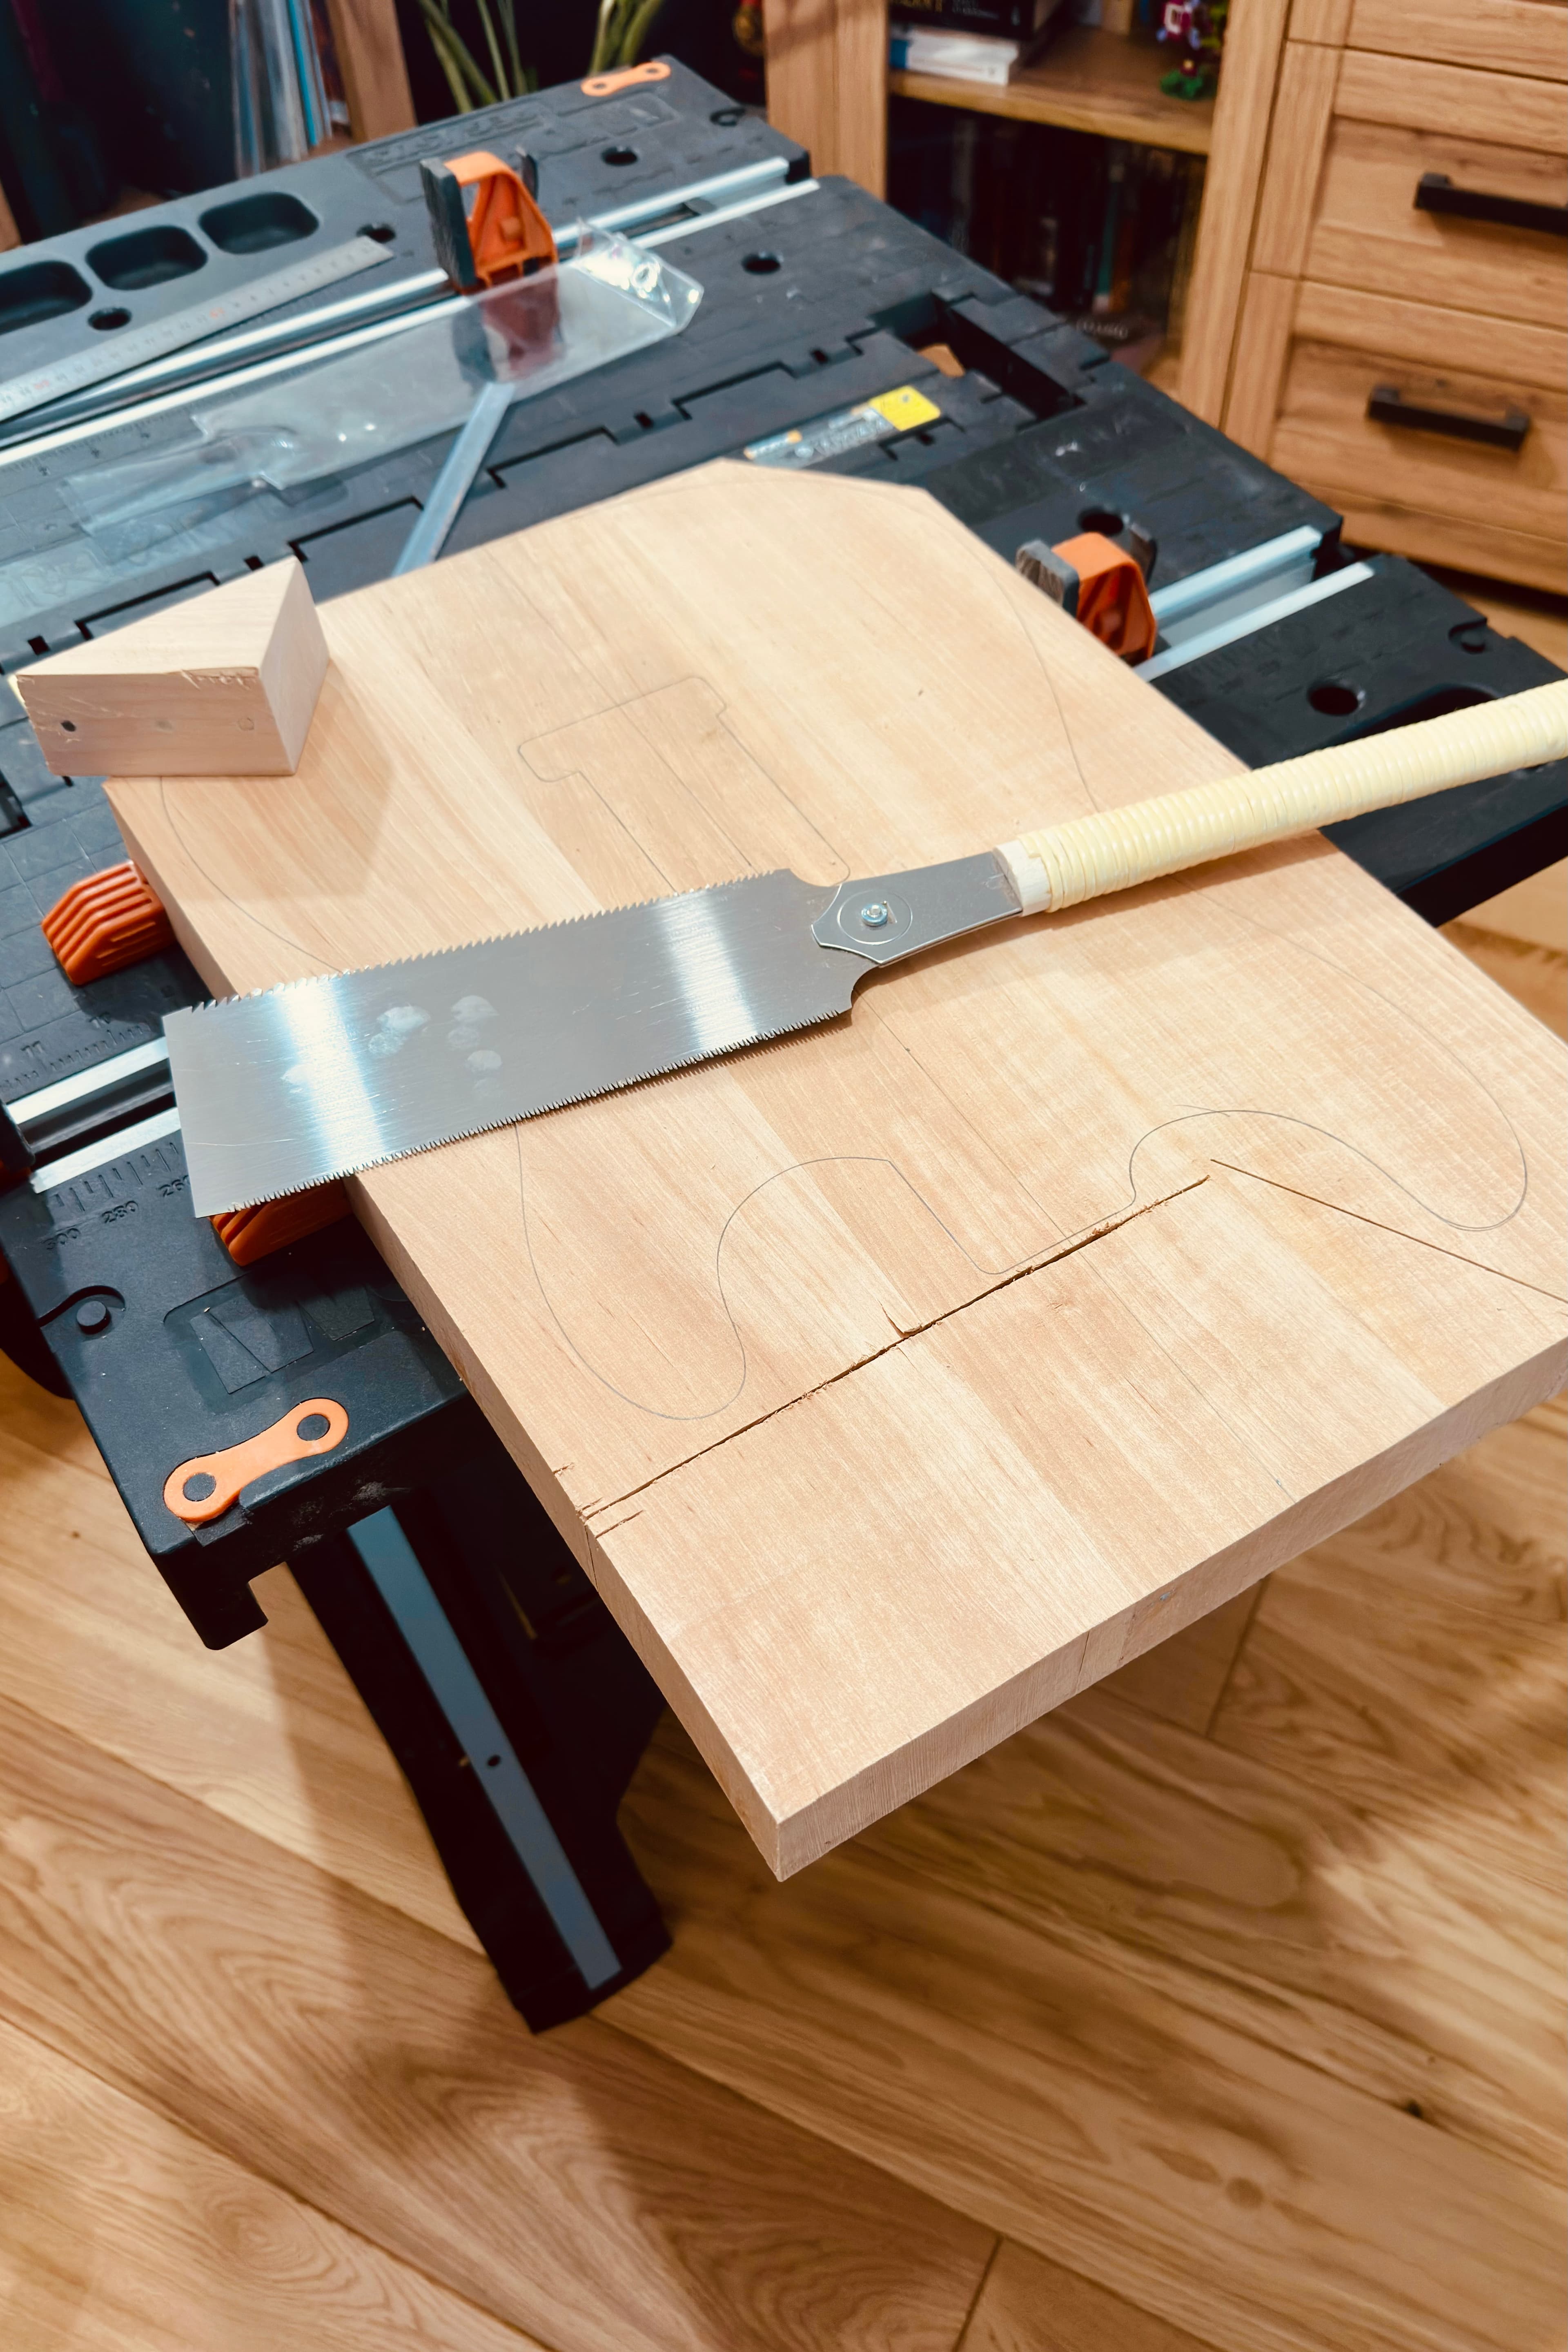
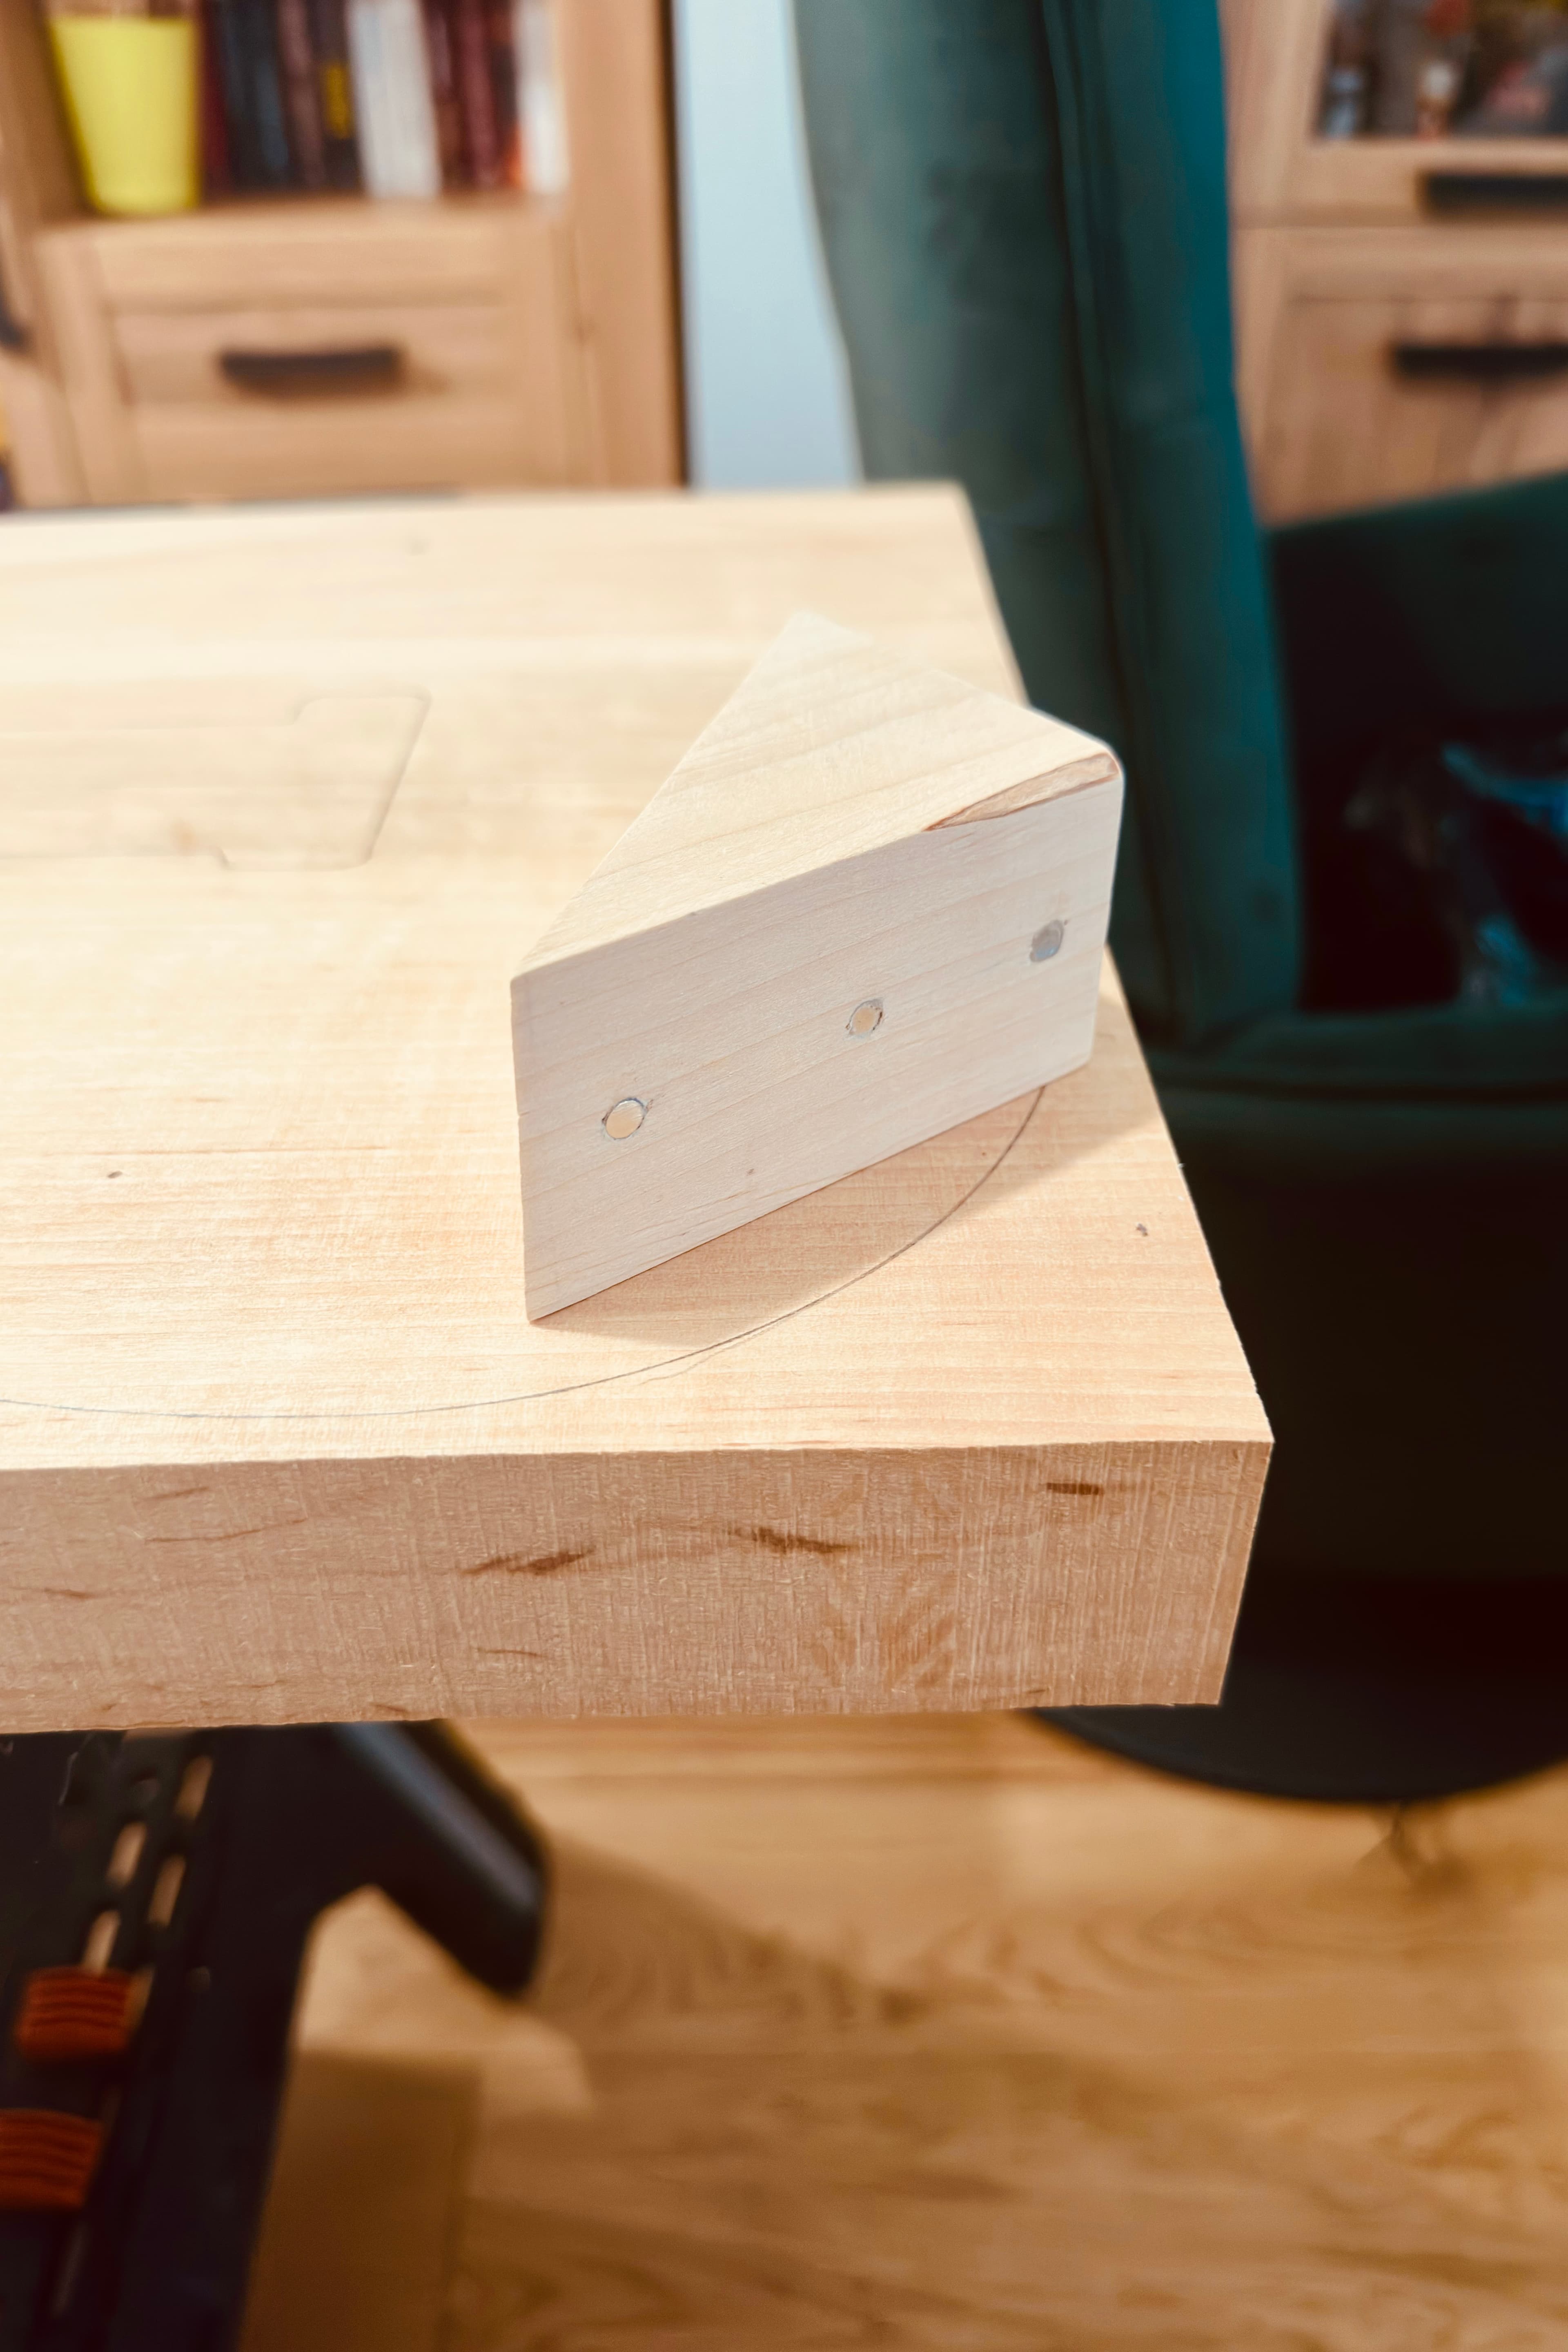
While working with the Japanese saw, I also made a small helper tool - just a simple wooden block with magnets glued to it. Its only job was to keep the saw vertical during cuts. A small thing, but surprisingly helpful.
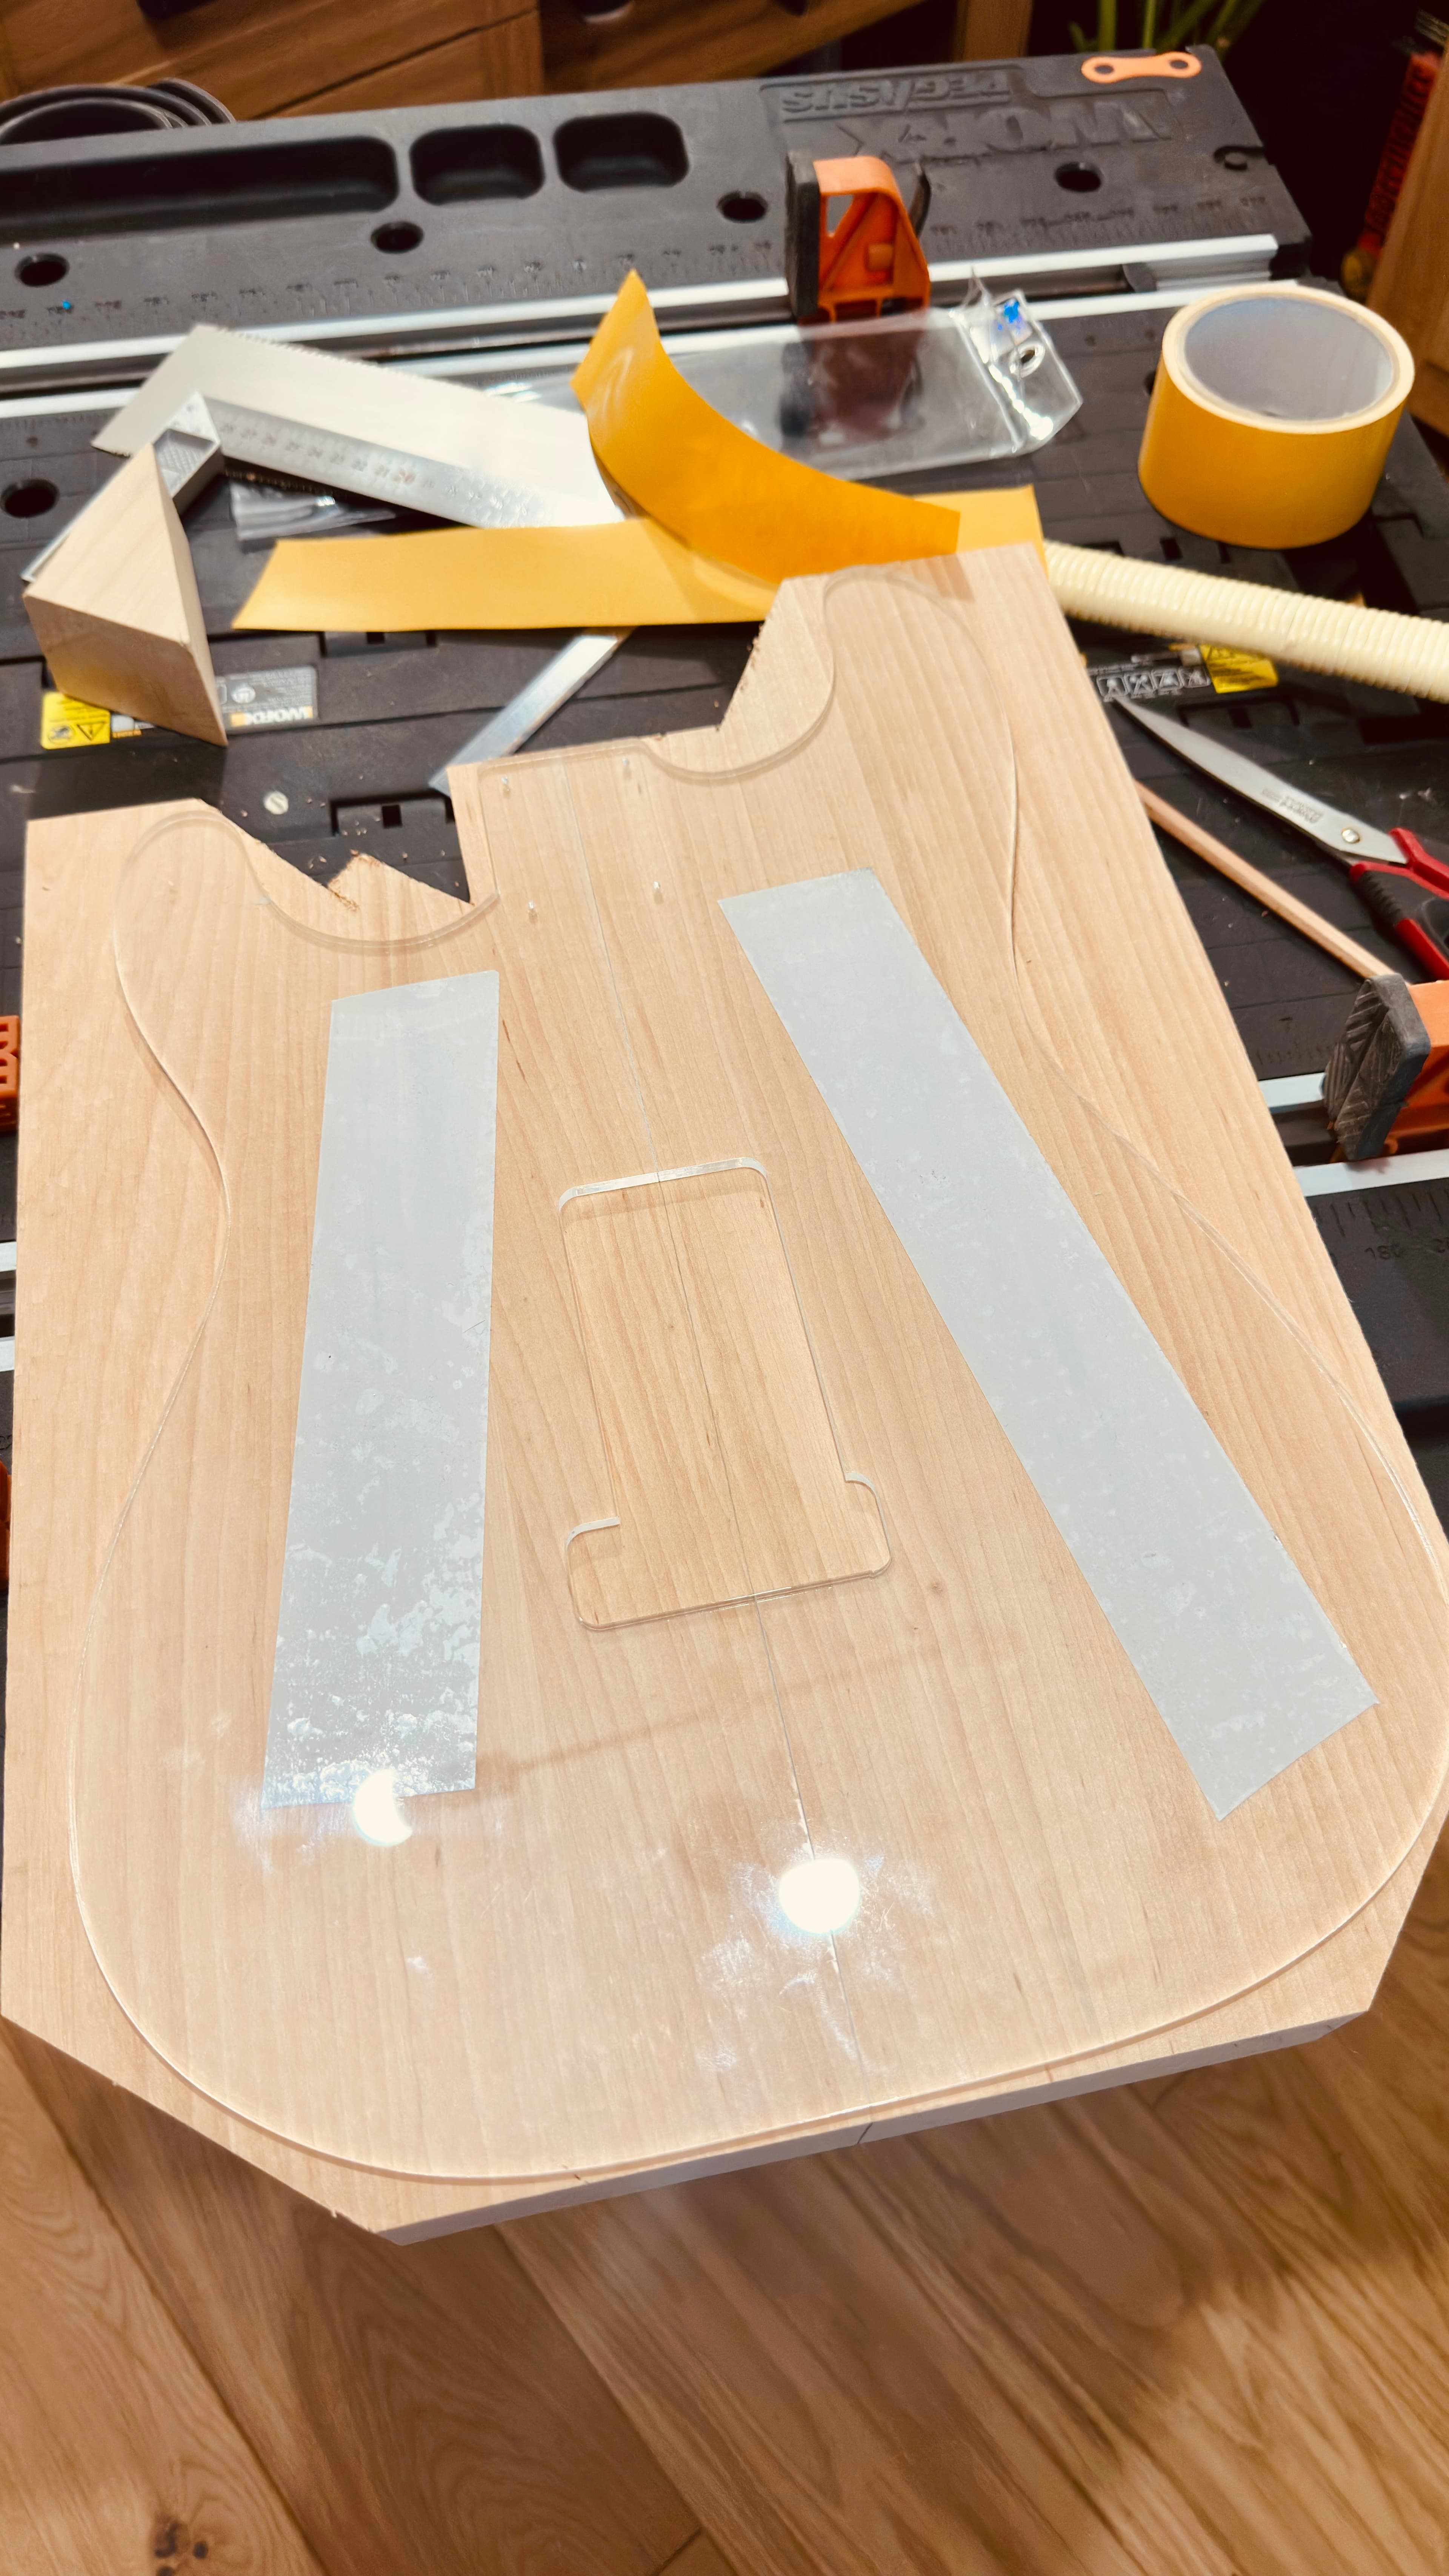
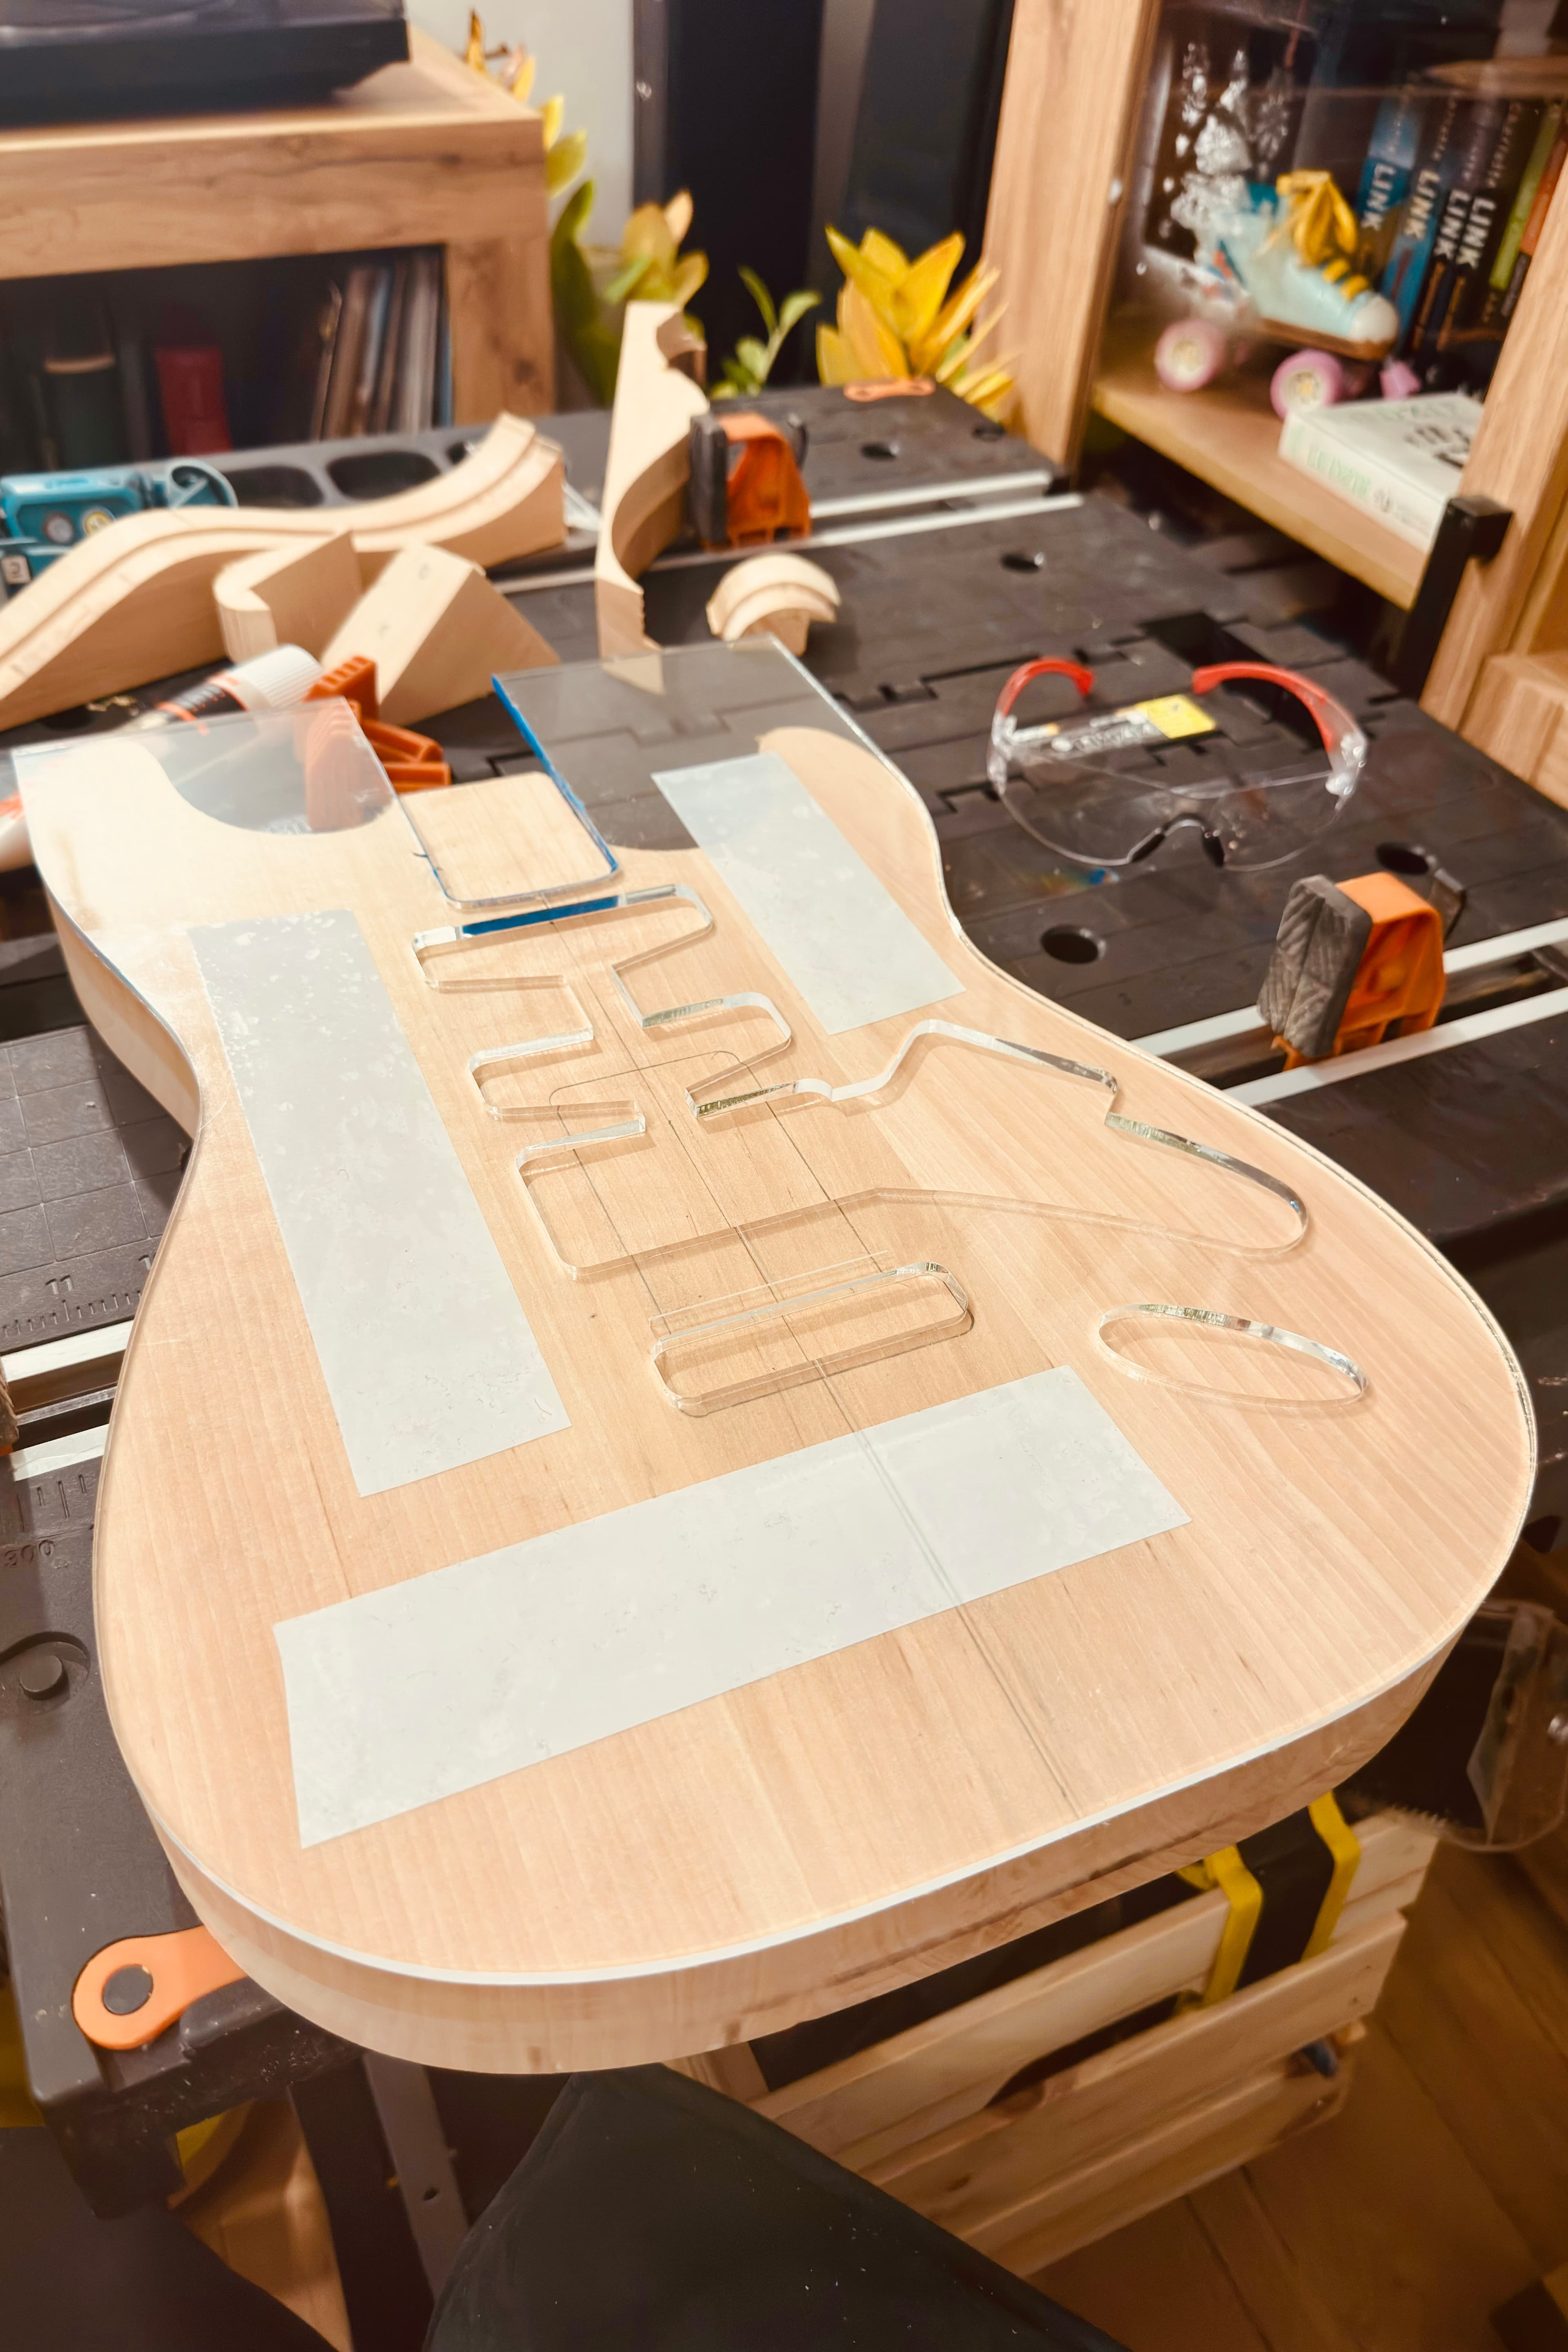
Once the rough shape was cut out, I glued the rear template in place. And here’s a small pro tip: always double-check which side you’re attaching it to - unless you accidentally want to build a left-handed guitar. I came dangerously close to doing exactly that. Then came the routing.
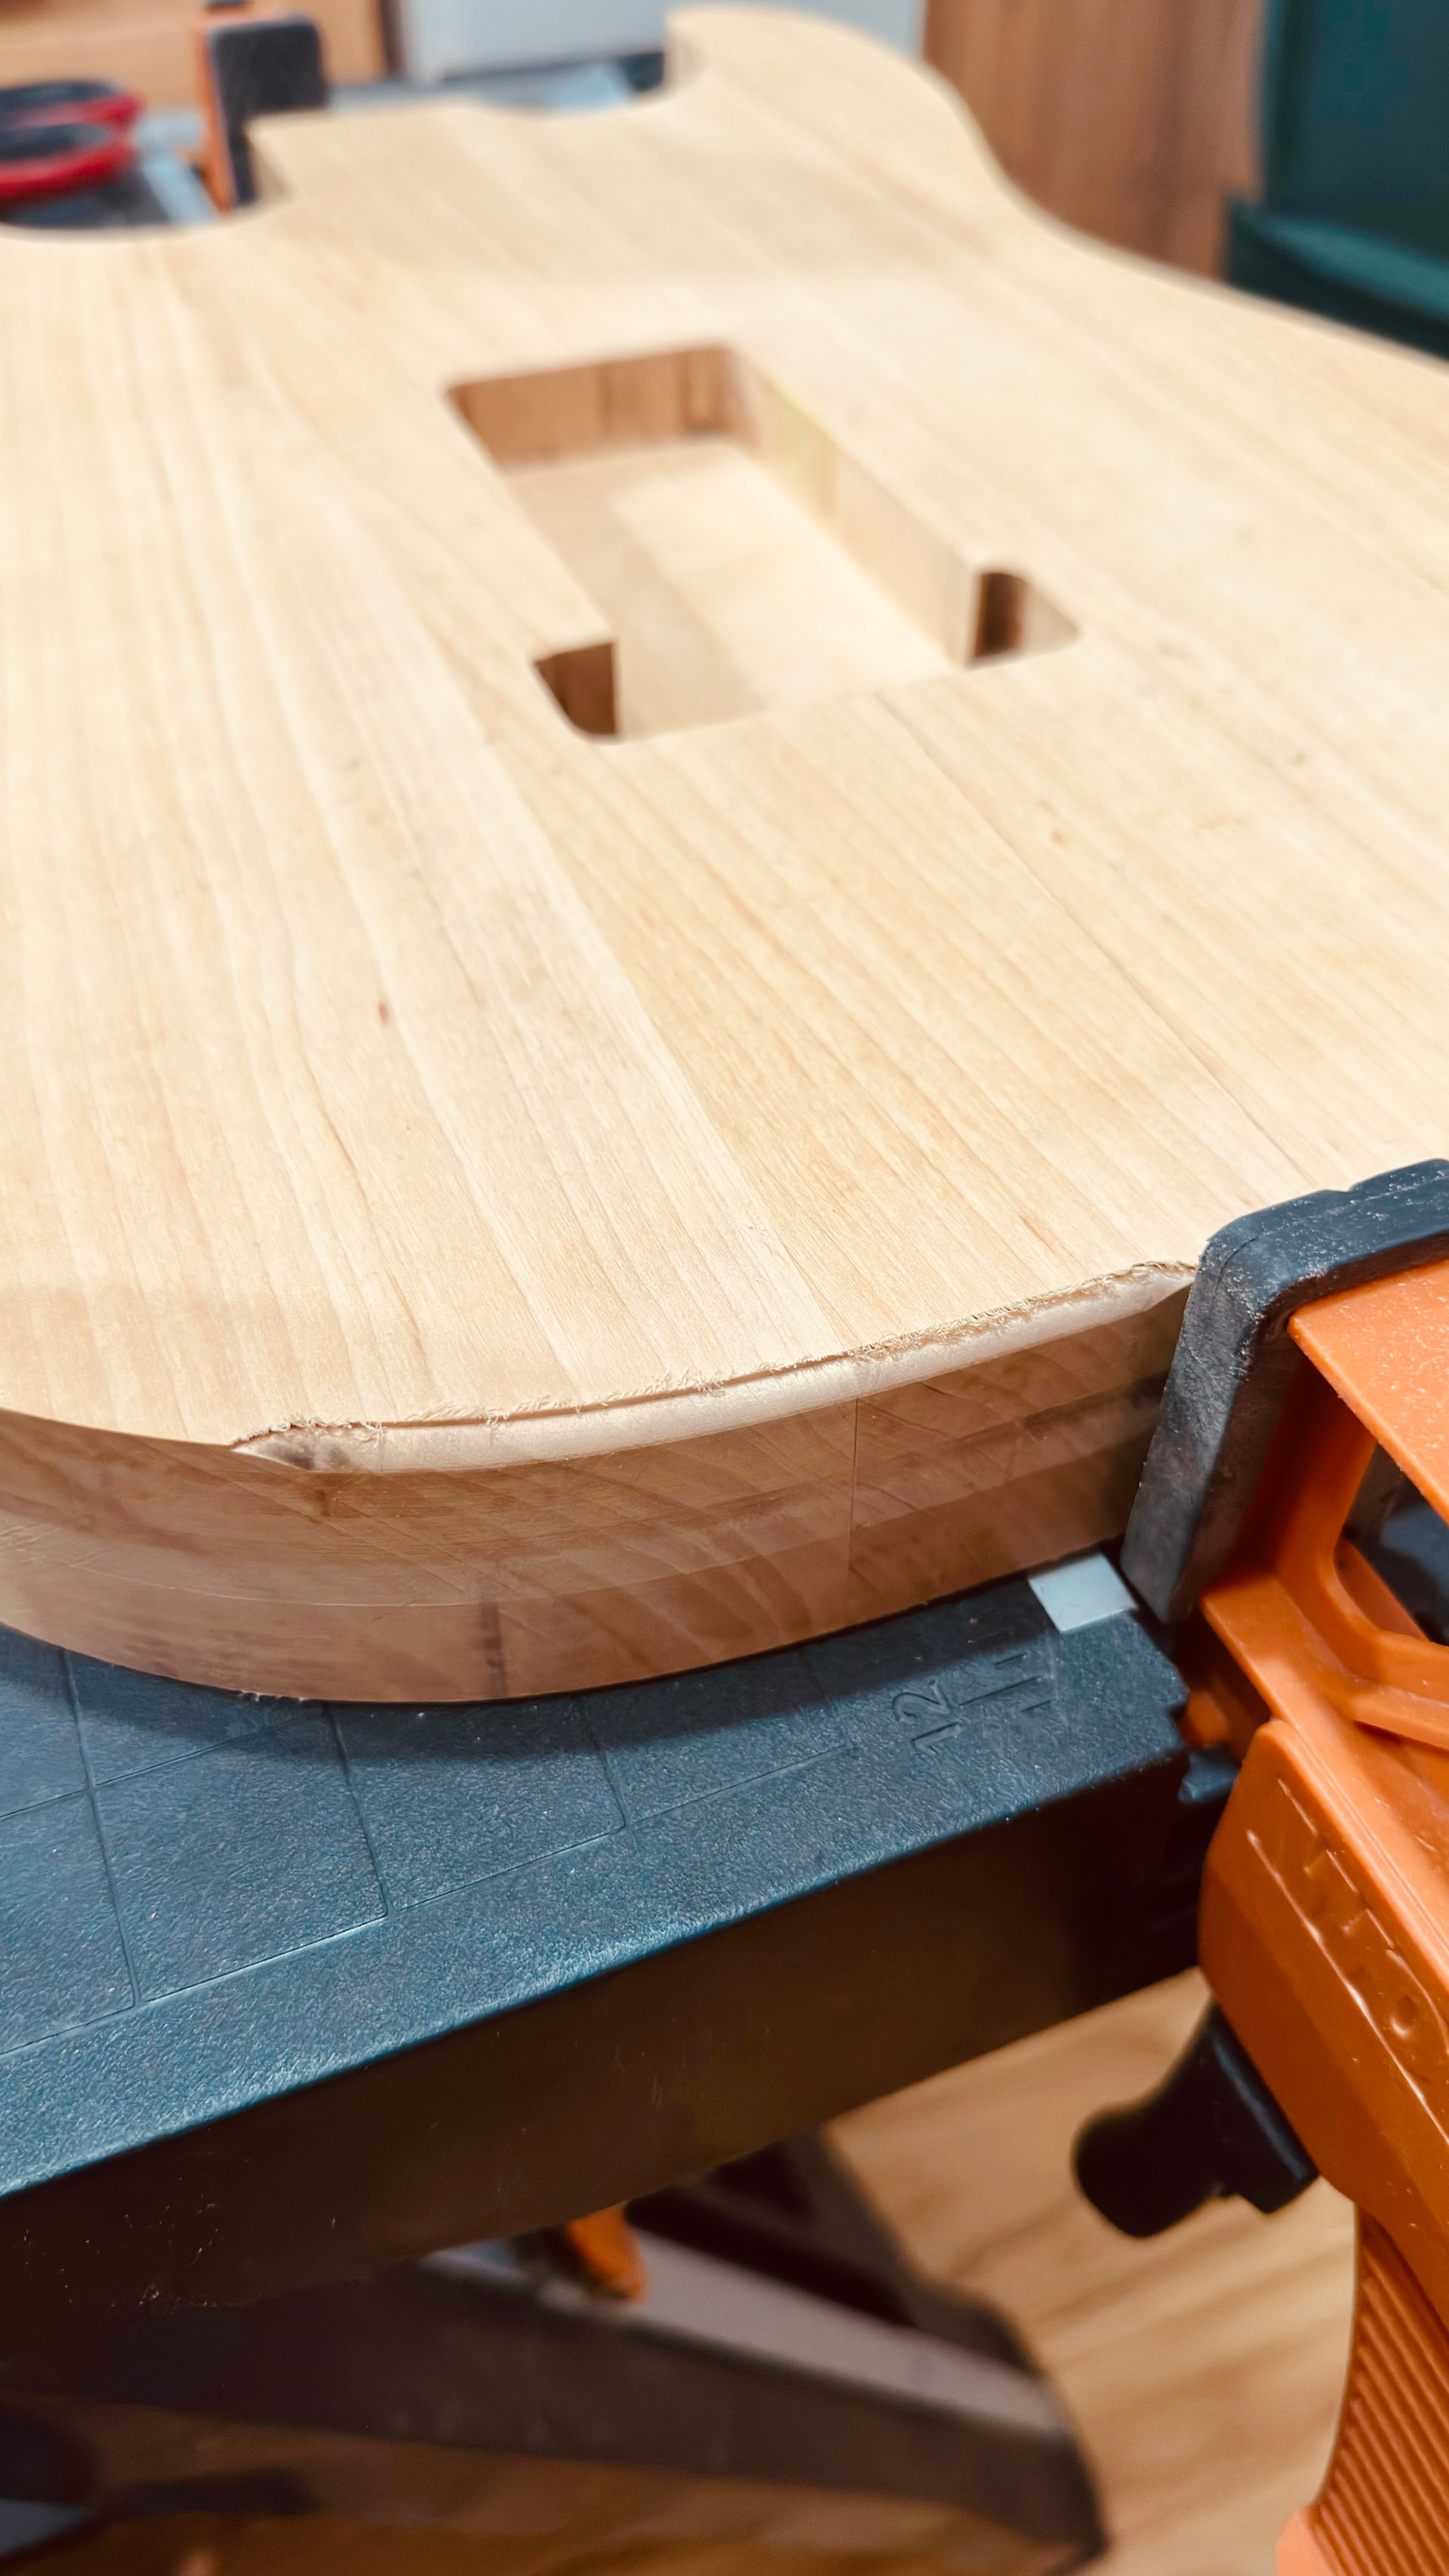
And here’s where reality hit. Without much prior experience in routing, I quickly discovered that this step is not as straightforward as it looks on YouTube. Especially when the router has to remove too much material at once. And even more so when you’re not just shaping outer edges, but routing cavities for electronics. Move the router in the wrong direction, and it can grab, jump, and happily damage your template in a split second.
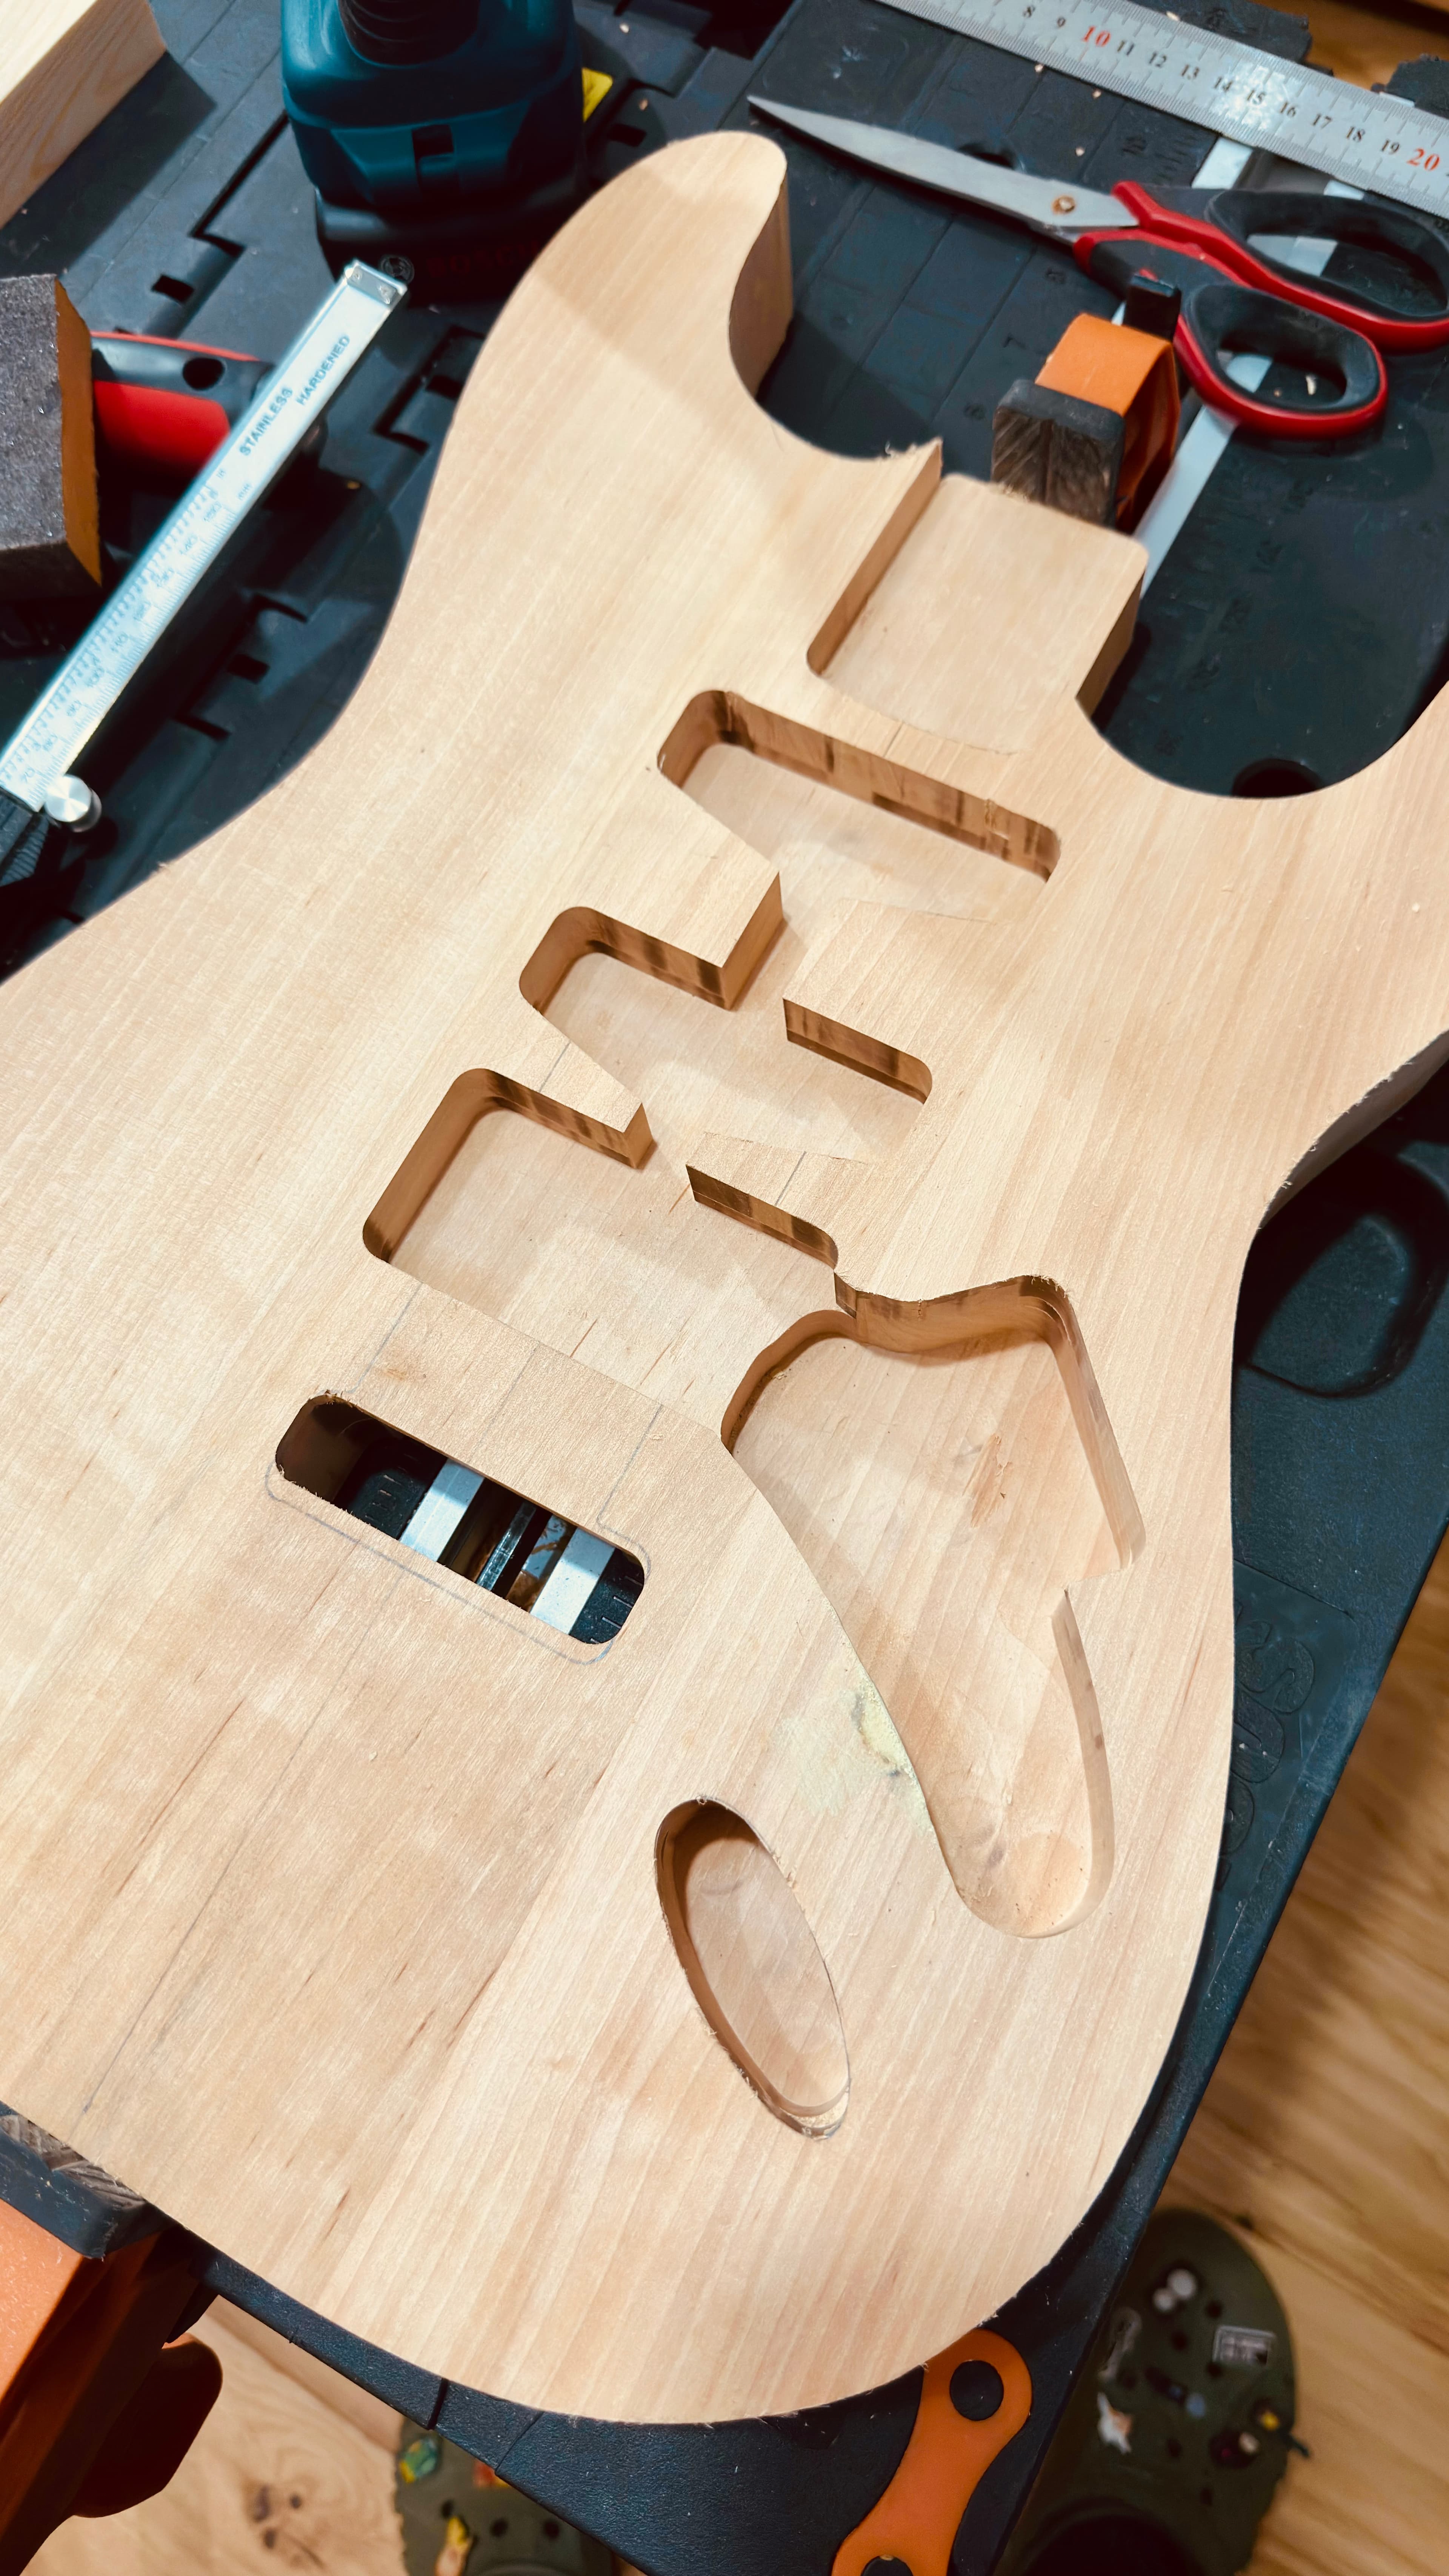
In the end, I made two or three harmless screw-ups - nothing catastrophic. You can see them in the photos below. Luckily, they were easy to fix with some filler, and since the guitar will be painted anyway, they won’t leave a trace.
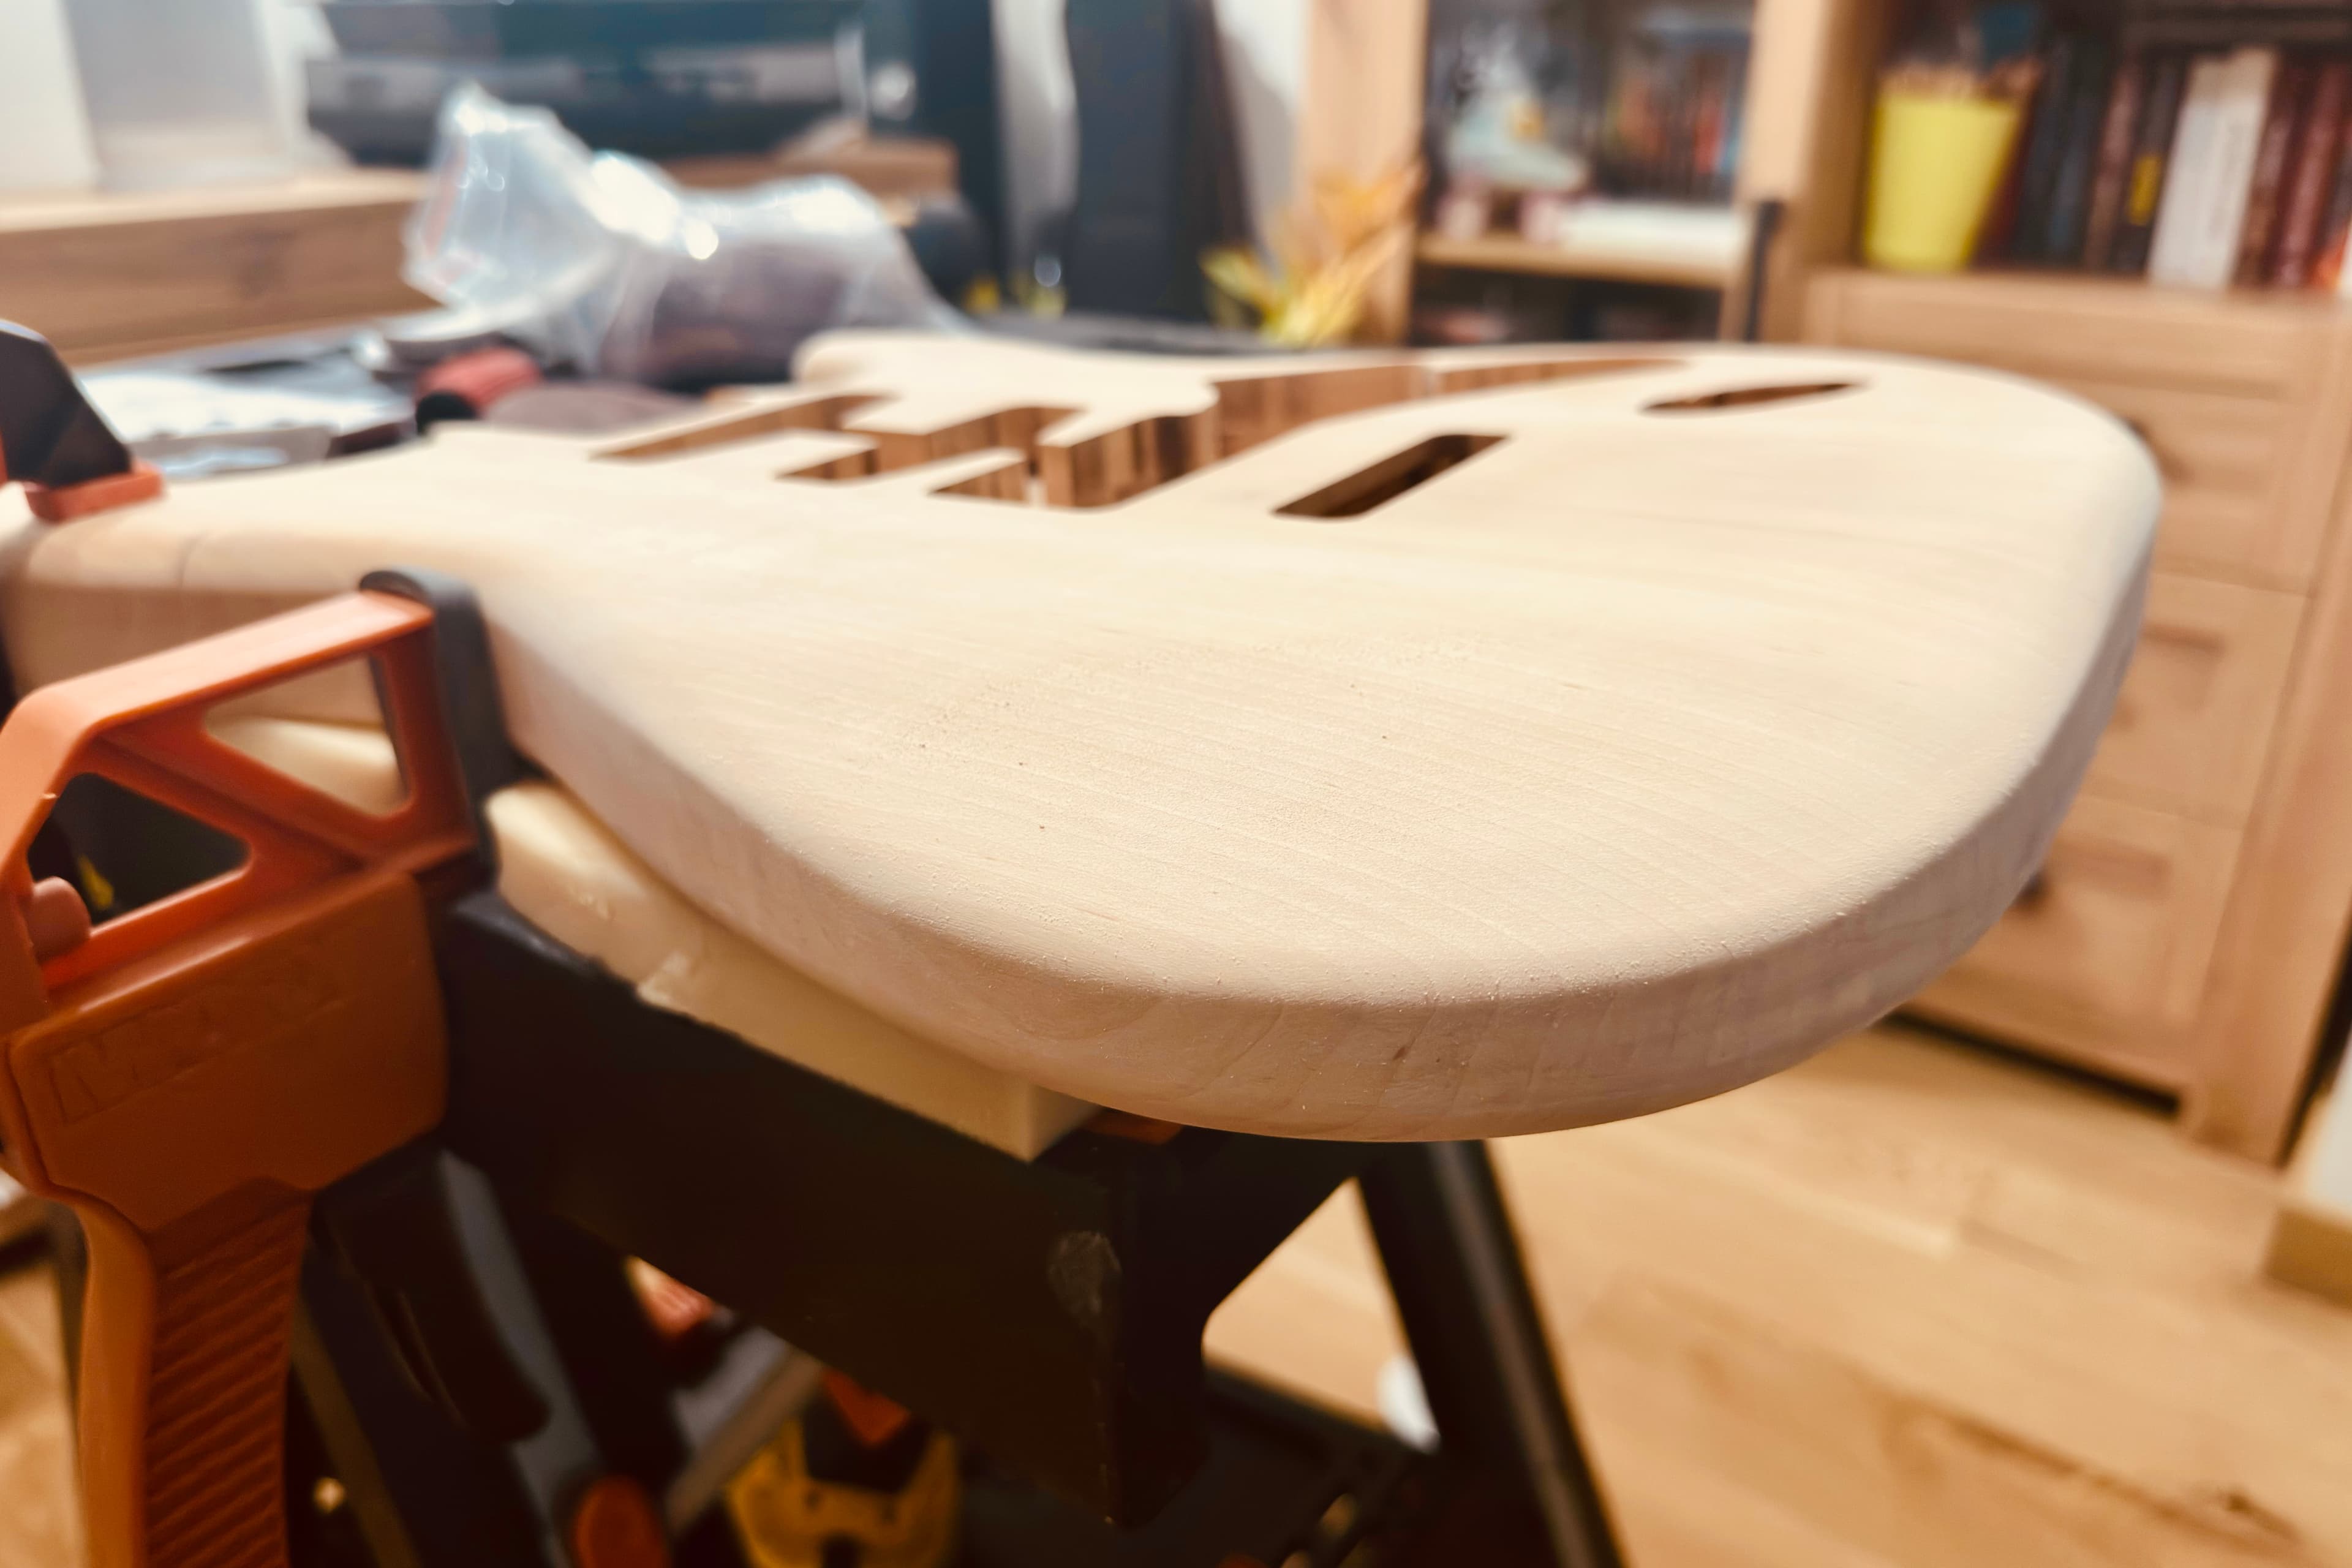
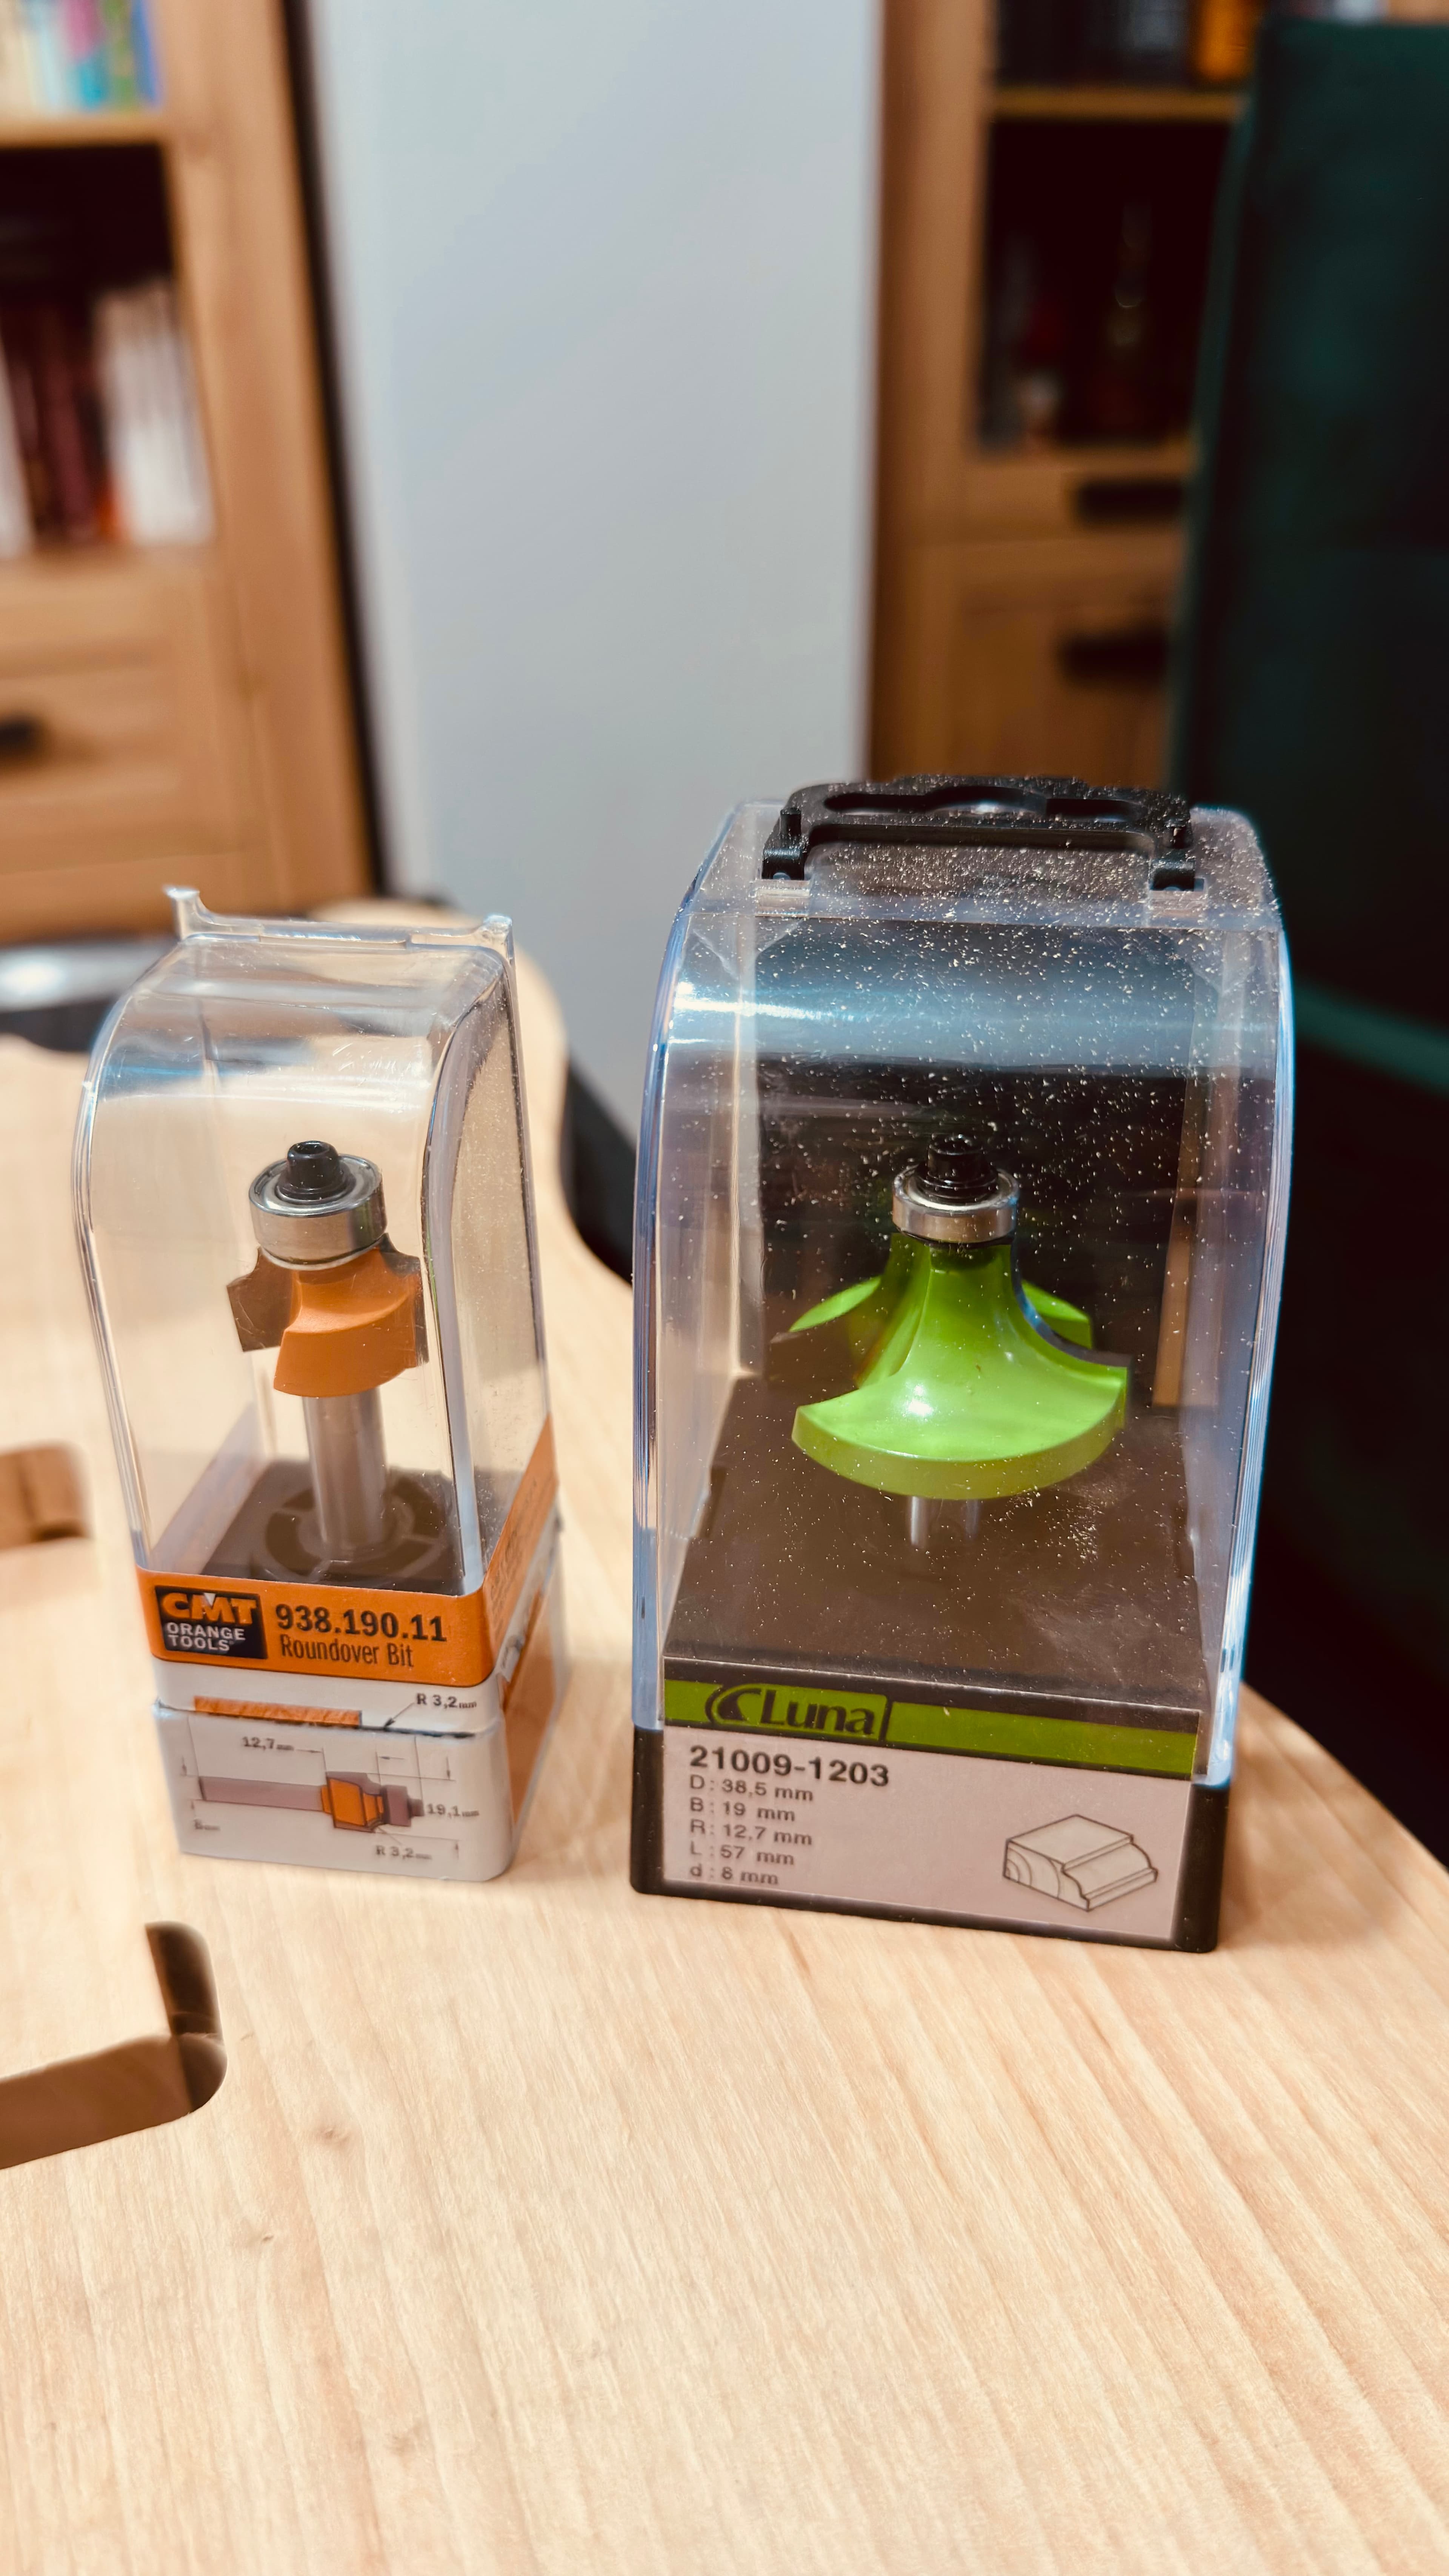
Because of my limited experience with routing, I also made a small but noticeable mistake when ordering the router bit. I chose one with a radius that was too small for a Strat-style body. It might seem like a minor detail, but the edge radius has a huge impact on the overall feel and look of the guitar. The difference between the first bit I ordered and the one that should have been used is clearly visible in the photos below.
During this stage, I also gained a new appreciation for 3D printing technology, thanks to my friend Artur who supported me with a few custom pieces. The combination of modern technology and traditional lutherie is something I definitely want to explore further.
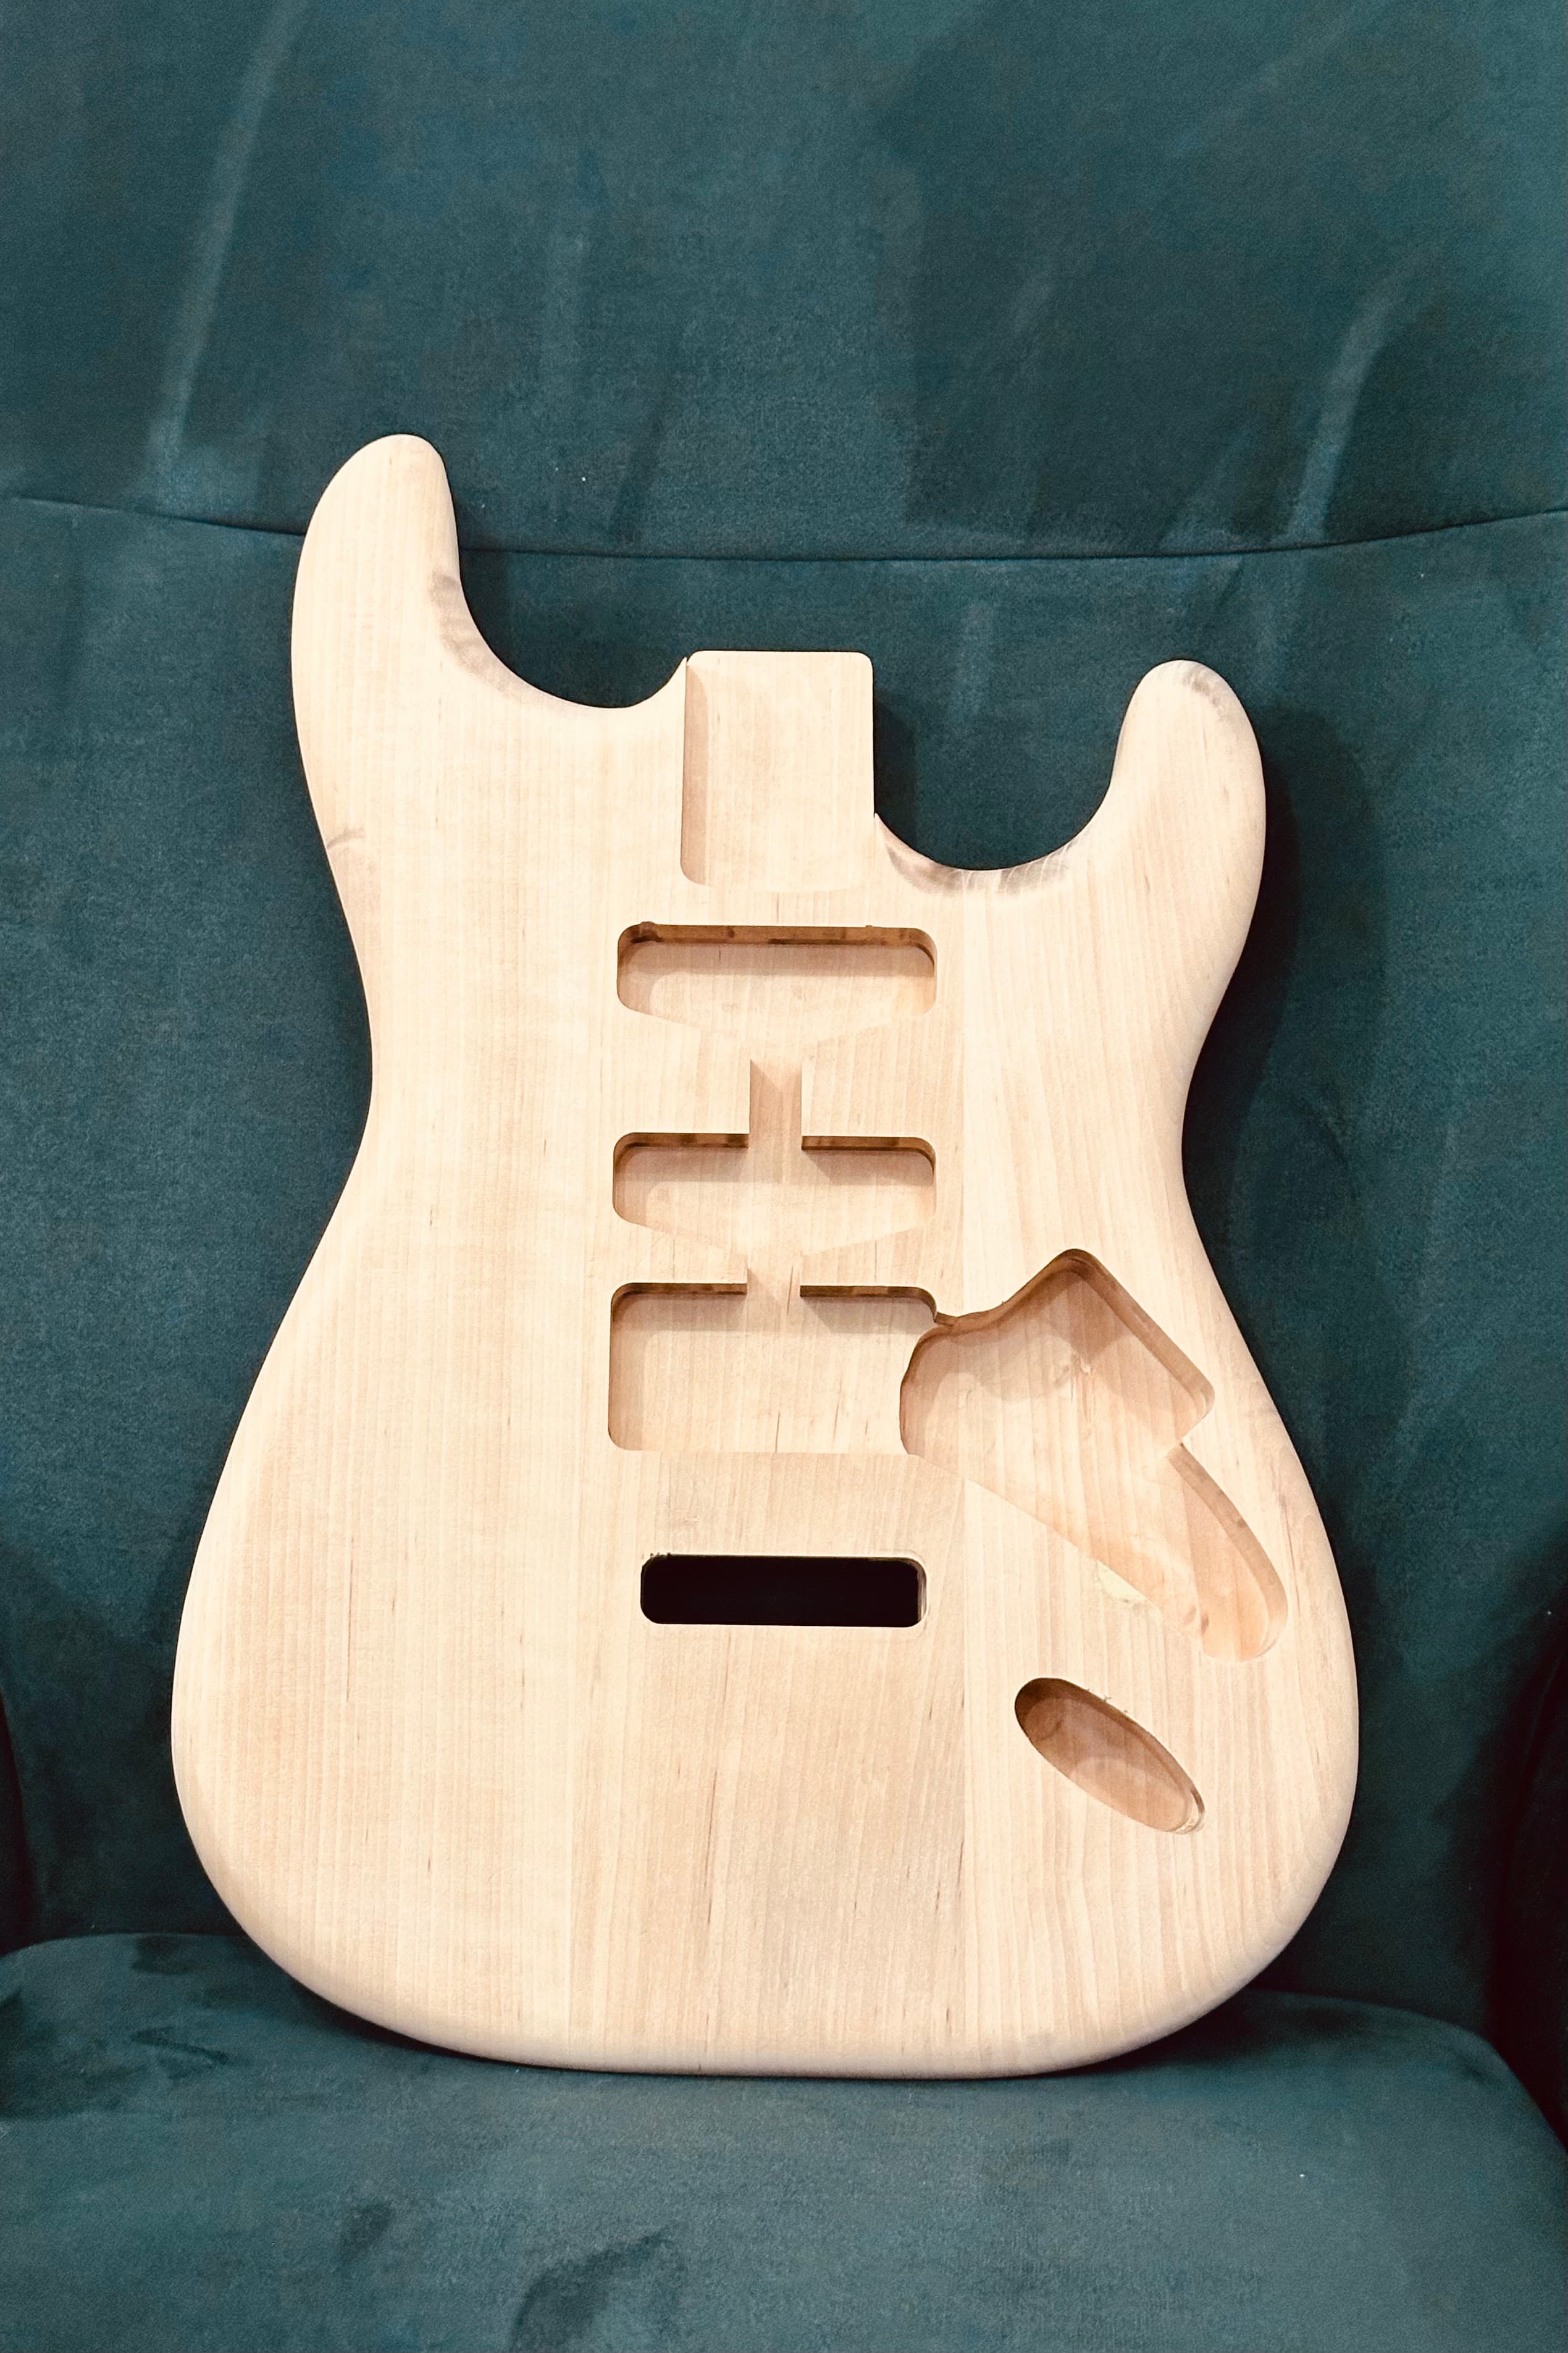
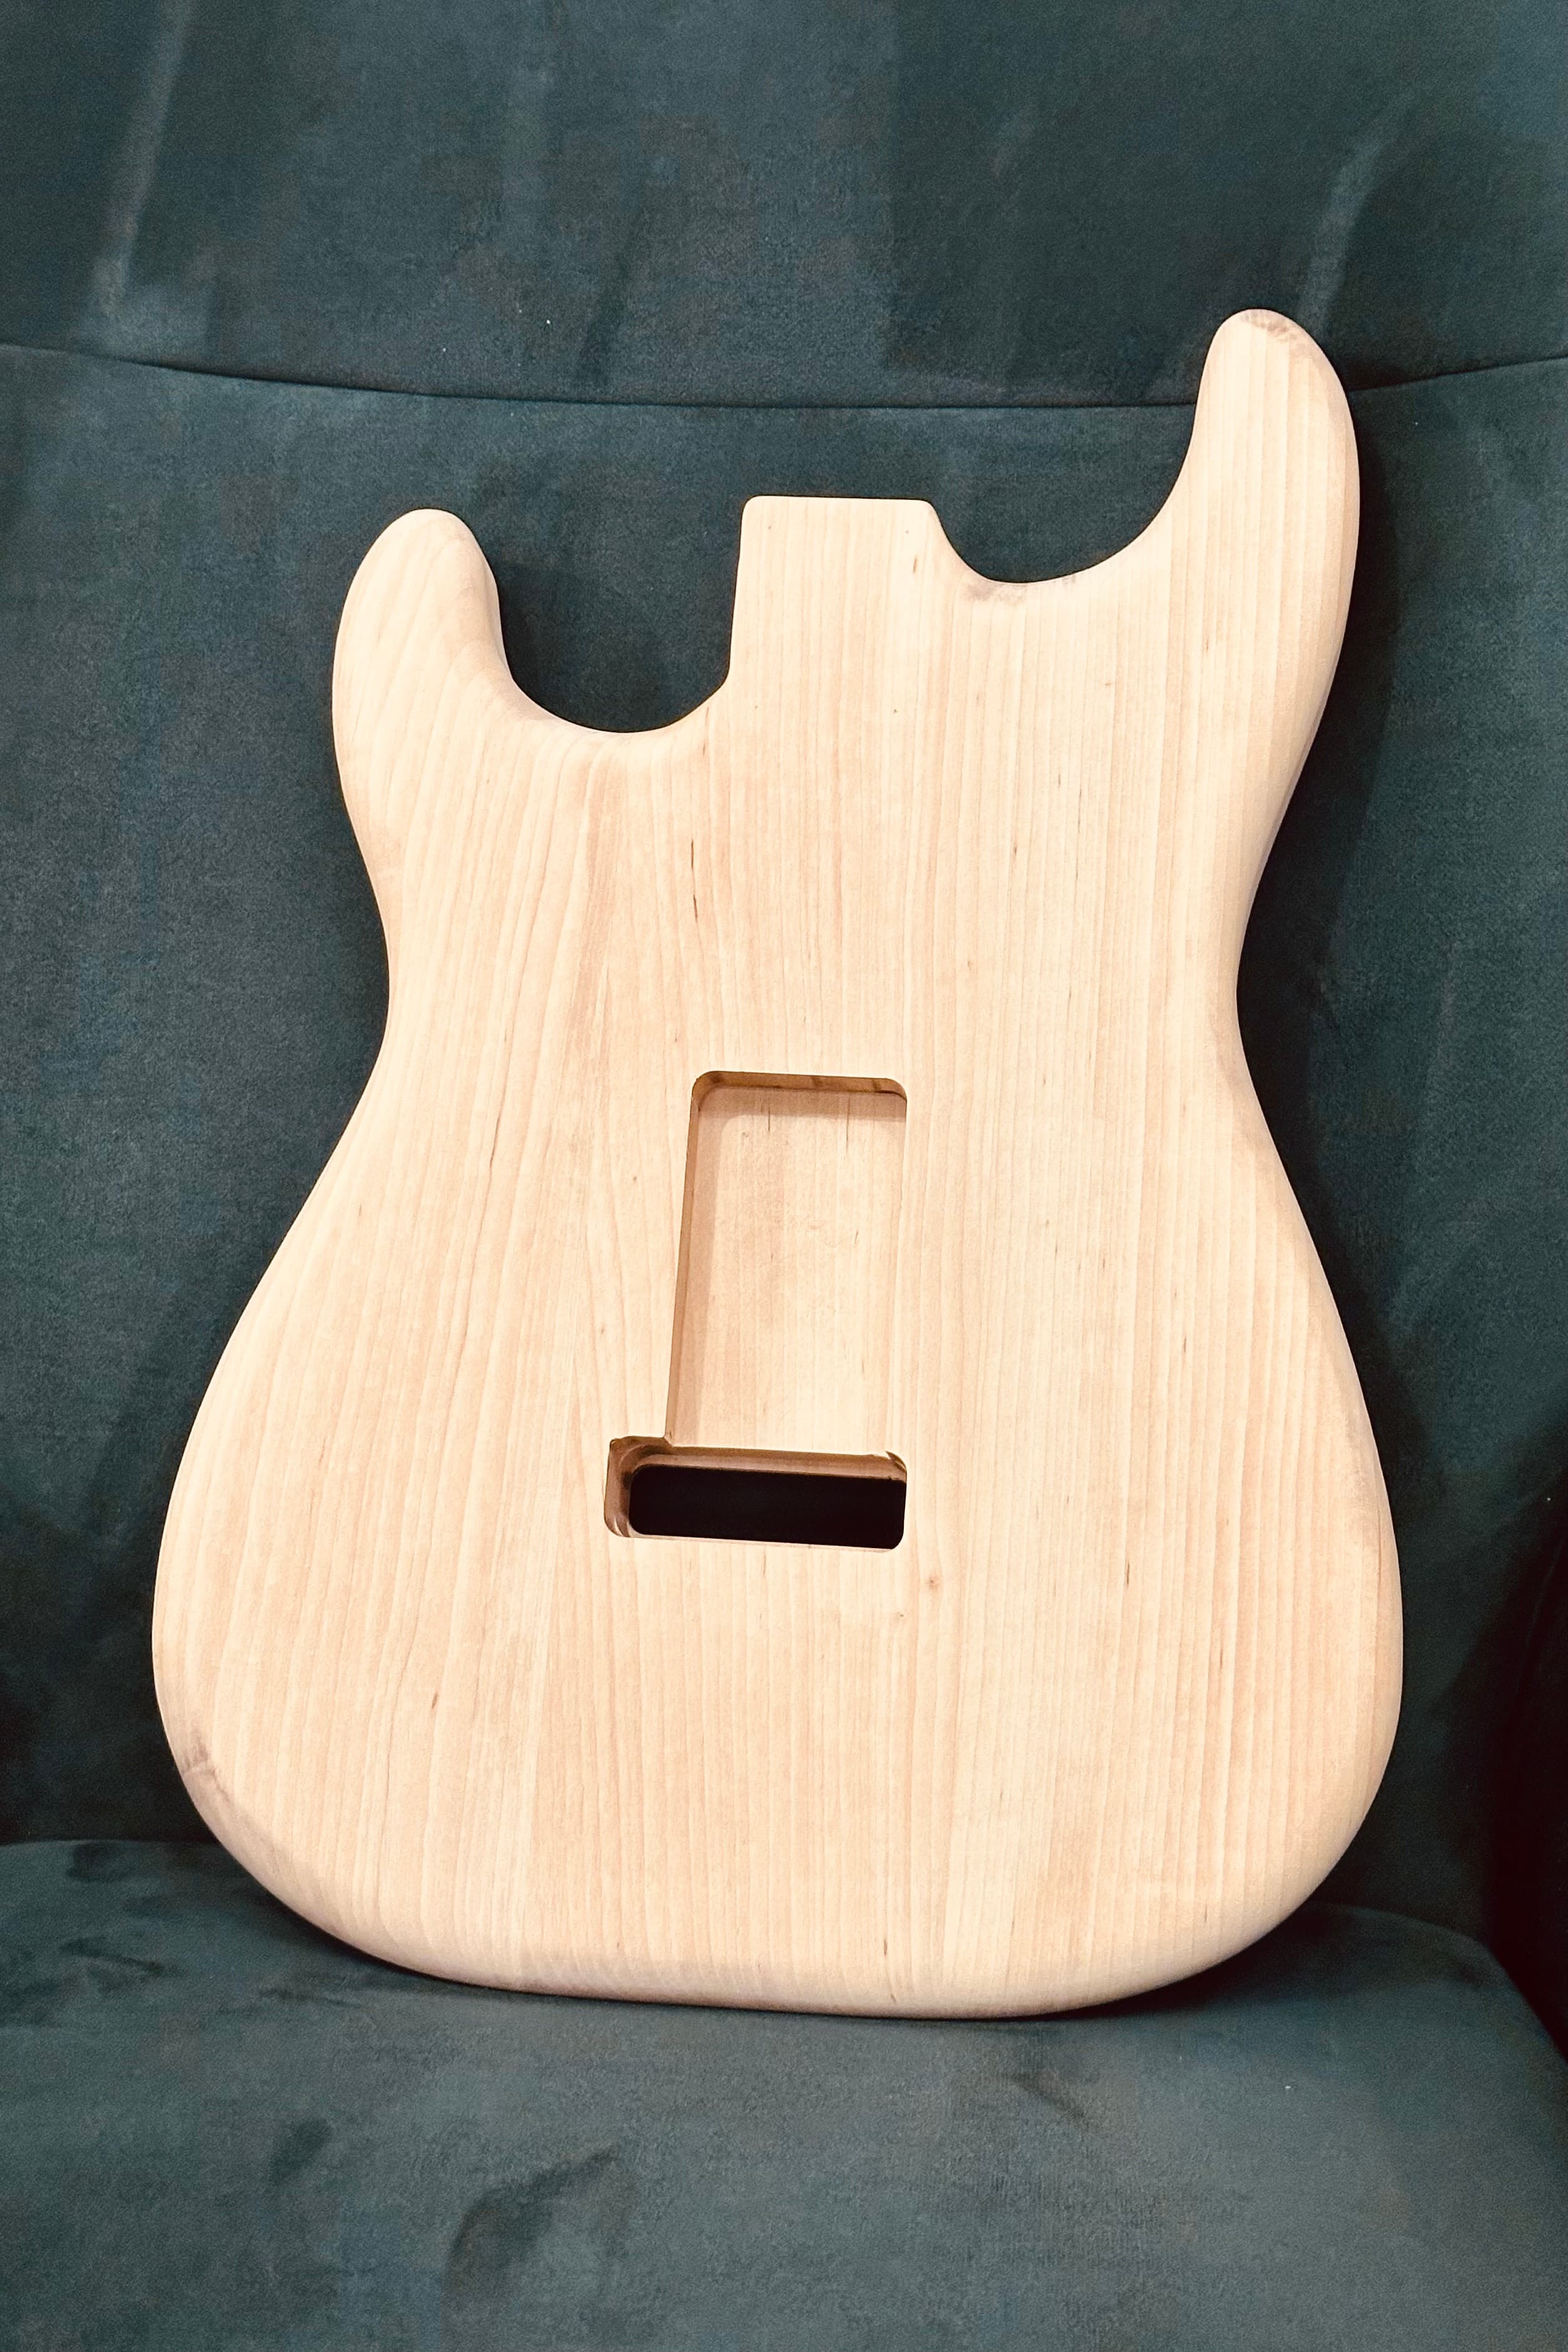
Despite the small mistakes and learning curve, the final result at this stage was very satisfying. The body shape was fully cut, the electronics cavities routed, the bridge position defined, and both the forearm and belly cuts shaped.
Next step - cutting the neck.